In 15 years of keeping bees, I’ve requeened colonies for a lot of different reasons — bad temperament, low honey production, failing brood patterns, seasonal timing, and once because a tree fell on a hive and somehow only the queen survived (the split worked out fine). Requeening is one of those management tools that beginners often delay for too long. A failing queen doesn’t improve on her own, and waiting costs you bees, time, and production.
The timing that works best in my apiary is late summer, specifically August into early September. At that point, a newly mated queen raised in late summer will lay the bees that overwinter the colony. Those bees are what determine whether your hive is strong coming into spring. A young, vigorous queen in fall = a booming colony in May. I’ve seen the data play out clearly enough in my own records to make late-summer requeening a near-automatic practice for any colony older than two seasons.
Reasons to Requeen
Not every situation requires emergency requeening. Here are the scenarios where I pull the trigger:
- Colony age: Queens typically peak in year one to two. By year three, production declines and laying consistency drops. I routinely requeen colonies every one to two years regardless of apparent performance.
- Spotty brood pattern: A healthy queen lays in tight, consistent patterns. A brood frame that looks like Swiss cheese — many empty cells interspersed with capped brood — indicates a failing queen or disease (rule out disease first).
- Aggressive colony: If your bees are following you to the truck, boiling out of the hive on inspection, and stinging through your gloves, that’s genetics. A new queen with docile traits changes a colony’s temperament within four to six weeks as the old bees die off.
- Low honey production: Genetics matter for production. Swapping to a known high-producing queen line can significantly improve honey yield.
- Colony failed queen naturally: Emergency queen cells produce queens that are often poorly mated or of uncertain genetics. Introducing a purchased mated queen gives you a known quantity.
Purchasing a Queen
I source queens from local breeders when I can, because locally adapted genetics overwinter better in my climate. National suppliers (Koehnen, Honey Bee Genetics, B Weaver) ship reliably in spring and summer, but shipping stress can reduce queen viability — always examine queens carefully upon arrival. A healthy mated queen should be active, abdomen plump, moving purposefully on the frame. Reject and request a replacement for any queen that appears sluggish, injured, or dead on arrival.
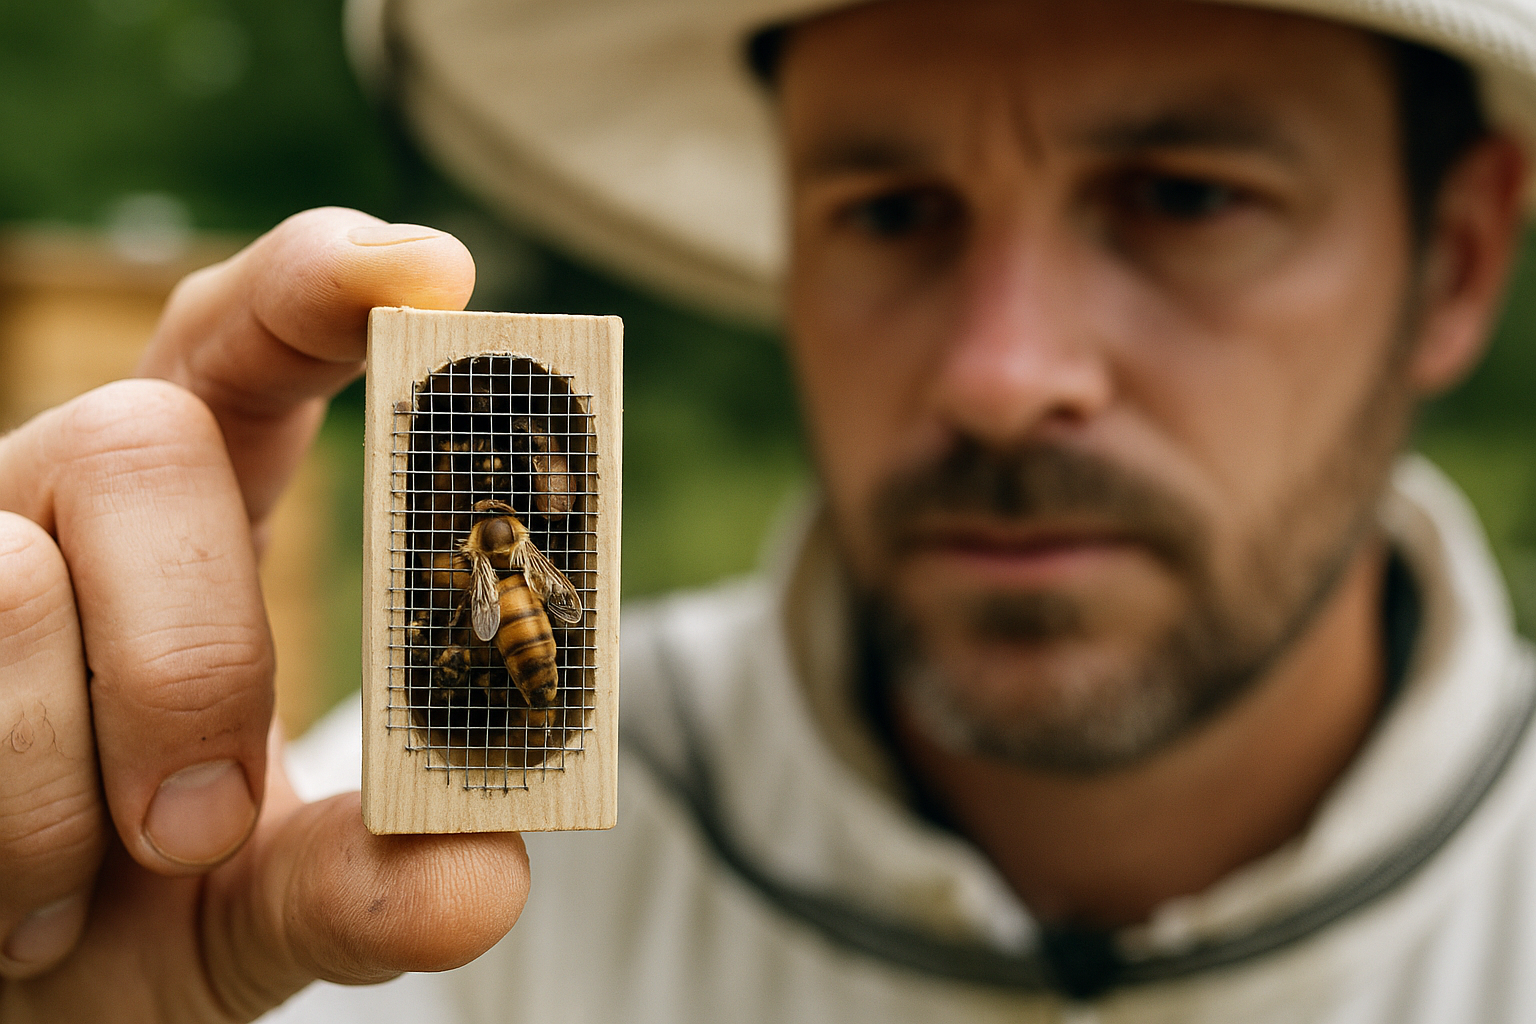
Introducing a New Queen: The Candy Plug Method
Most purchased queens come in a three-hole cage with a candy plug at one end and a handful of attendants. The candy plug introduction is the standard method — and it works because it gives the colony time to acclimate to the new queen’s pheromones before she’s free among them.
- First, find and remove the existing queen. Give yourself a day or two for the colony to realize it’s queenless (some beekeepers install the new queen immediately; I prefer a one-day gap).
- Suspend the cage between two frames in the brood nest, candy end up, mesh facing the bees. The “candy end up” orientation is important — if the queen dies in the cage, she falls away from the candy plug rather than blocking it.
- Make sure the candy plug is exposed (remove any cork or foil covering it) but do NOT open the queen cage itself.
- Close the hive and leave it alone for five to seven days. This is hard, especially the first time. Do not check.
- Return and inspect: if the cage is empty, the queen has been released and accepted. Look for eggs in cells within a week to ten days.
Signs of Rejection
Sometimes the colony rejects a new queen. You’ll know because returning at day five, you find the cage surrounded by a tight, agitated ball of bees, or the queen is dead inside the cage despite the candy being fully consumed. Reasons for rejection include: the colony isn’t truly queenless (there’s a hidden queen or virgin queen you missed), the new queen was introduced too quickly, or colony stress from disease or dearth.
If rejected, remove the dead queen, locate and remove any queen cells the colony has drawn, wait 48 hours, and try again with a new queen. Check more carefully for alternative queen sources this time.
Quick Reference: Requeening Timeline
- Day 0: Find and remove old queen
- Day 1–2: Colony realizes it’s queenless; calm down before introduction
- Day 2: Install new queen cage (candy end up, between brood frames)
- Day 7–8: Check cage — empty = released; eggs visible in 7–10 more days
- Day 14–18: Confirm new queen is laying in solid pattern
- Day 30–40: Colony temperament shifts as new bees replace the old
Requeening feels like a big intervention the first few times. Once you’ve done it a handful of times and watched a difficult, unproductive colony transform into a calm, honey-making machine, it starts to feel less like surgery and more like routine maintenance. Your bees deserve the best possible queen. Don’t wait until a colony is failing to act.