The work you do in September and October determines whether your hives come through winter alive. I used to treat winter prep as an afterthought — do a little feeding, wrap the hives, hope for the best. I lost two colonies my third year because I didn’t take the mite load seriously in fall and I didn’t leave enough stores. Since then, my fall checklist has become the most important thing I do all season. It’s not glamorous work. It doesn’t involve honey harvest or new bees. But it’s what separates consistent beekeepers from people who wonder why their hives died every spring.
Start your fall prep earlier than you think you need to. In most of the northern US, that means beginning your checklist in August. By October, temperatures in many regions are dropping below the threshold where bees can effectively process syrup. The window is shorter than it looks.
Step 1: Treat for Varroa — This Is Non-Negotiable
Varroa mites in fall are killing your winter bees. The bees being reared in August and September will be the ones that keep the cluster alive through January — and if they’re heavily parasitized by mites, their fat bodies are depleted and they’re carrying viral loads that shorten their lives dramatically. An untreated colony going into winter on high mite counts has a dramatically reduced chance of survival, regardless of how well-fed it is.
My protocol:
- Do an alcohol wash in late July or early August to establish baseline mite levels
- If mite load is above 2 per 100 bees, treat immediately with Apivar (amitraz strips) for 6–8 weeks
- If treating in fall after brood breaks down, oxalic acid vapor is highly effective (repeat 3× at 5-day intervals for best results)
- Retest after treatment to confirm efficacy
- Target: below 1 mite per 100 bees heading into winter
Step 2: Assess and Top Off Stores
A colony needs 60–80 pounds of honey to survive winter in the upper Midwest and Northeast. That’s roughly eight to ten full deep frames of capped honey, or the equivalent in medium frames. Lift the back of your hives to feel the weight — a well-stocked hive feels noticeably heavy. Light hives need feed immediately.
Use 2:1 sugar syrup in early fall (August–September). Bees can dehydrate thick syrup efficiently while temperatures are still warm. Once nighttime temperatures drop below 50°F, switch to hard candy boards or fondant — liquid syrup can’t be processed in cold conditions and may introduce excess moisture.
Step 3: Evaluate Colony Population
A colony heading into winter needs a good population of young bees to form a viable cluster. A bare minimum would be four to five frames covered with bees; a strong colony going into winter covers eight to ten frames. If you have two weak colonies, consider combining them with the newspaper method rather than trying to overwinter two colonies that each lack critical mass.
- Strong: 8–10 frames of bees
- Marginal: 4–6 frames (can survive in mild winters with ideal conditions)
- Too weak: Fewer than 4 frames — combine or accept likely loss
Step 4: Reduce and Protect the Entrance
Mice will move into a warm beehive the moment temperatures drop. A queen bee exiting a hive is no match for a determined mouse. Install a mouse guard — either a metal reducer with 3/8″ openings or a commercial guard — before October. Bees can still pass through; mice cannot.
Also reduce the entrance opening to limit cold air drafts and reduce the area the guard bees need to defend. A winter entrance of one to two inches is sufficient for ventilation without cold loss.
Step 5: Ventilation and Moisture Management
The enemy of winter colonies is moisture, not cold. Bees generate significant heat and water vapor in the cluster, and if that moisture condenses on the inner cover and drips back down onto the cluster, it can chill and kill bees even in a well-populated hive. Solutions:
- Add a screened inner cover or drill a small (3/4″) upper entrance hole for moisture escape
- Tilt the hive very slightly forward (1/4″ gap at the back) so condensation runs to the front
- Use insulated quilt boxes packed with wood shavings above the inner cover to absorb moisture
- Avoid sealing hives completely airtight — some air exchange is necessary
Fall Prep Quick Reference
- August: Mite wash + treat if needed. Begin 2:1 feeding if stores are short.
- September: Confirm treatment efficacy with retest. Finish feeding. Install mouse guards.
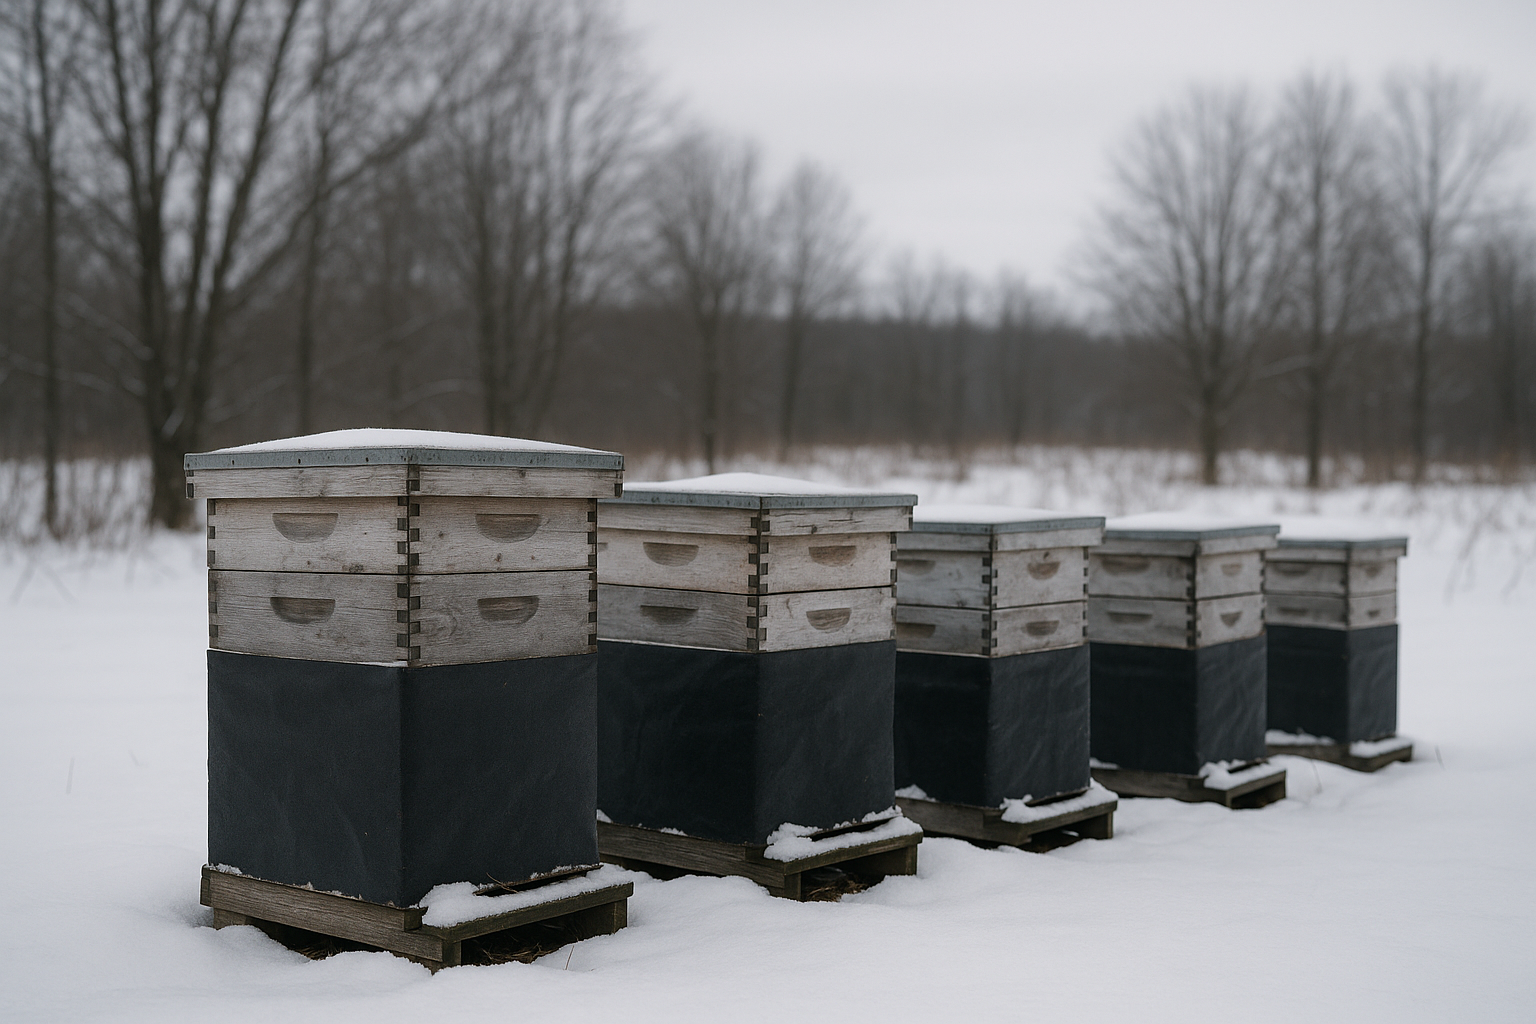
- October: Reduce entrance. Add moisture management. Wrap if in zone 5 or colder.
- November: Stop opening hives (except to add emergency candy boards). Monitor for condensation.
Winter survival is built in fall. Every hour you spend on your hives in September saves you the heartbreak of finding a dead cluster in March. The checklist isn’t complicated — it just requires doing the work consistently, early enough for it to matter.