Every beekeeper eventually faces the same question: how are you actually going to get the honey out? You’ve got capped frames, you’ve done the shake test, everything looks good — and now you need to decide on a method. The choice matters more than most beginners expect, because it affects not just the labor involved but the end product: its clarity, texture, whether you’re working with comb or liquid honey, and what the cleanup looks like afterward.
There are three main approaches: crush-and-strain, radial extraction, and producing cut comb or chunk honey. Each has its place. After running an apiary of 22 hives for the better part of a decade, I’ve used all three, and I reach for different methods depending on the hive, the season, and what the honey is going to be used for.
Crush-and-Strain: The Low-Tech Option That Works
Crush-and-strain is exactly what it sounds like. You cut the comb off the frame, crush it in a container, and strain the liquid honey through mesh. The wax stays in the strainer; the honey flows through.
What it costs: Almost nothing. You need a clean bucket or bin, a fine mesh strainer or cheesecloth, and a container to catch the honey. Many people use five-gallon food-grade buckets with a strainer nested on top.
The trade-off: You destroy the comb. After extracting, your bees have to rebuild all that wax — and wax production is expensive in bee terms. Research suggests bees consume somewhere between six and eight pounds of honey to produce one pound of wax. In a small operation with only a few hives and foundation-based frames, destroying comb is a real cost in lost production the following year.
When it makes sense: If you’re using foundationless frames or top-bar hives where comb is irregularly shaped and won’t spin in an extractor anyway, crush-and-strain is your only real option. It’s also the right call for specialty comb honey where you want to show buyers the natural structure — just crush a portion and sell the rest as cut comb. I also use it when frames have partially fermented or otherwise damaged comb I don’t want going through my extractor.
Time and yield: Straining takes hours. Raw, unheated honey flows slowly through fine mesh, especially in cooler temperatures. I set up my straining rig the night before bottling and let it drain overnight. Yield per frame is slightly lower than extraction because some honey stays bound in the wax.
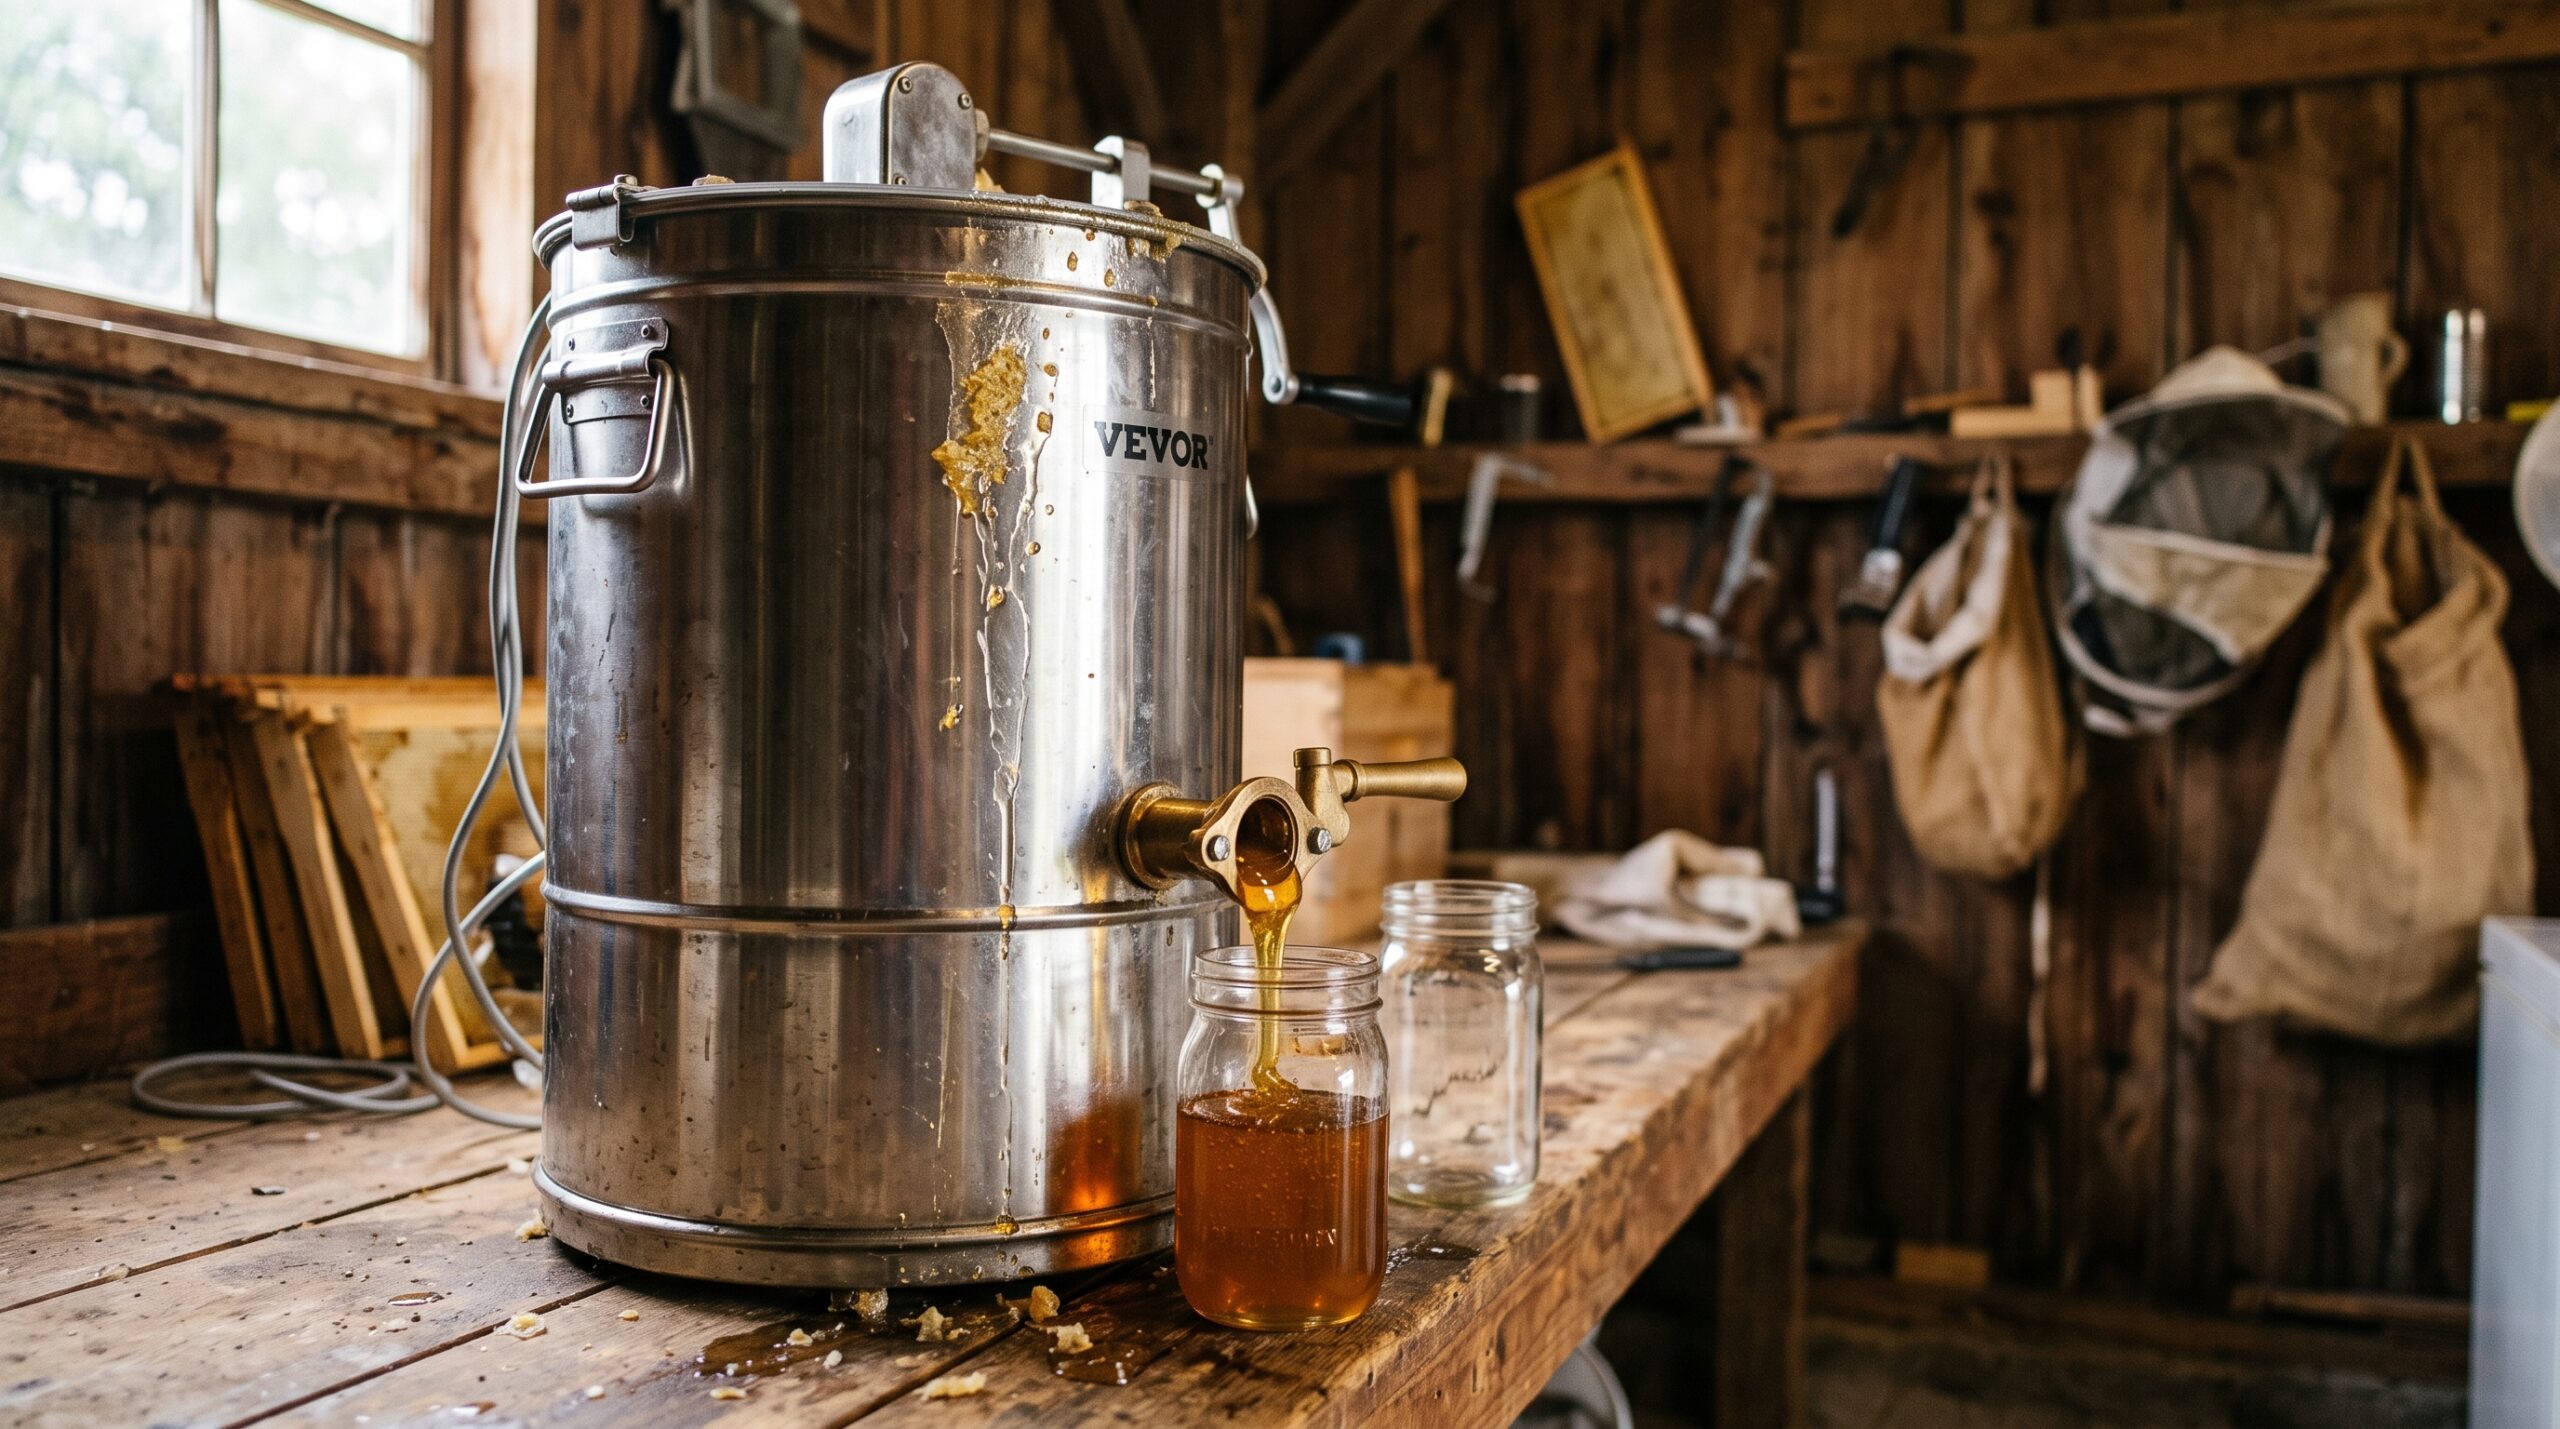
The Radial Extractor: The Standard for Established Beekeepers
A radial extractor spins frames like spokes in a wheel, using centrifugal force to fling honey out of uncapped cells. The comb stays intact, frames go back to the hive, and bees refill them — often faster than before, because they don’t have to build new wax from scratch.
Manual vs. electric: Manual extractors (hand-cranked) cost $100–250 and hold 2–4 frames. They’re fine for a small hobbyist operation. Electric extractors start around $350 for small models and can run several thousand dollars for commercial-scale units. I’ve used the same 9-frame electric extractor for eight years and it’s paid for itself many times over.
Frame compatibility: Make sure your extractor matches your frame size. Langstroth medium and deep frames require different basket configurations. Some extractors are adjustable; others are not. Buy the extractor after you’ve committed to a frame size, not before.
The process:
- Uncap frames with a hot uncapping knife or an uncapping fork. I use a fork for partial capping and a knife for frames that are fully capped — faster and cleaner.
- Load frames into the extractor basket and spin on slow at first to prevent comb blowout, then increase speed.
- Honey collects at the bottom of the drum. Open the gate valve and let it flow into a settling tank or directly through a strainer into buckets.
- Return empty frames to the hive immediately if possible so bees can clean residual honey and begin refilling.
Cleanup: This is the part nobody warns you about. Extractors get sticky. Plan for an hour of rinsing, wiping, and drying after every extraction session. Hot water does most of the work. Don’t use dish soap if you’re going back into the extractor same day — residue can affect honey flavor.
Comb Honey: The Premium Product
Cut comb and chunk honey mean you’re selling or consuming the honey exactly as the bees made it — wax and all. Customers pay a premium for it, and for good reason. The flavor is extraordinary, and there’s nothing processed about it.
Cut comb: You cut squares or rectangles of capped comb directly from the frame and package them in plastic containers or clamshells. No extraction equipment required. Bees must rebuild comb each season, but the price premium often makes this worthwhile for boutique operations.
Chunk honey: A piece of cut comb placed inside a jar, then filled with extracted liquid honey around it. Visually striking, and it lets customers experience both textures.
Dedicated equipment for comb honey: To produce attractive cut comb, you need thin surplus foundation (or foundationless) and comb honey sections or cassettes. The cells need to be built and capped in a flat, consistent layer — frames that have been used for brood will have discolored, irregular comb that doesn’t present well.
Quick Reference: Which Method for Which Situation?
- Top-bar or foundationless hives → Crush-and-strain (comb can’t spin)
- Standard Langstroth with foundation → Radial extractor for best yield and comb preservation
- Selling at premium prices → Cut comb or chunk honey
- First-year hive with only a few frames → Crush-and-strain — no need to invest in an extractor yet
- Fermented or damaged comb → Crush-and-strain; don’t contaminate your extractor
My honest recommendation for anyone starting out: begin with crush-and-strain for the first season or two while your operation grows. Once you have five or more hives consistently producing, an extractor starts to pay off both in time savings and in comb preservation. The leap from beginner to intermediate beekeeper often coincides with the leap from a bucket-and-strainer setup to a proper extractor — and when you hit that point, you’ll know.