There’s a particular kind of quiet that settles over you the first time you pull the lid off a hive and hear thirty thousand bees hum in unison. I remember standing in my backyard in May, smoker in one hand, hive tool in the other, thinking: I have absolutely no idea what I’m doing. That was fifteen years ago. Now I set up a new hive the way I set up a campfire — deliberate, methodical, no guesswork.
Setting up your first beehive isn’t complicated, but the order of operations matters. A hive assembled wrong, placed wrong, or stocked wrong will cost you — in bees, in time, in money. Here’s exactly how I walk a new beekeeper through day one.
Choose Your Equipment Before You Buy Bees
This sounds obvious, but you’d be amazed how many beginners order a package of bees and then scramble to get a hive together in time. Your equipment should be ready at least two weeks before your bees arrive. For a first hive, you need:
- A bottom board (screened is better for mite monitoring)
- One deep brood box (also called a hive body)
- Ten frames with wax foundation or foundationless frames
- An inner cover and outer cover (telescoping cover holds up better in rain)
- An entrance reducer — essential for a new colony getting established
If you bought a kit, confirm every piece is included before assembly day. Missing an inner cover at 6 AM when your nuc is in the trunk is not a fun experience.
Assembly: Take Your Time
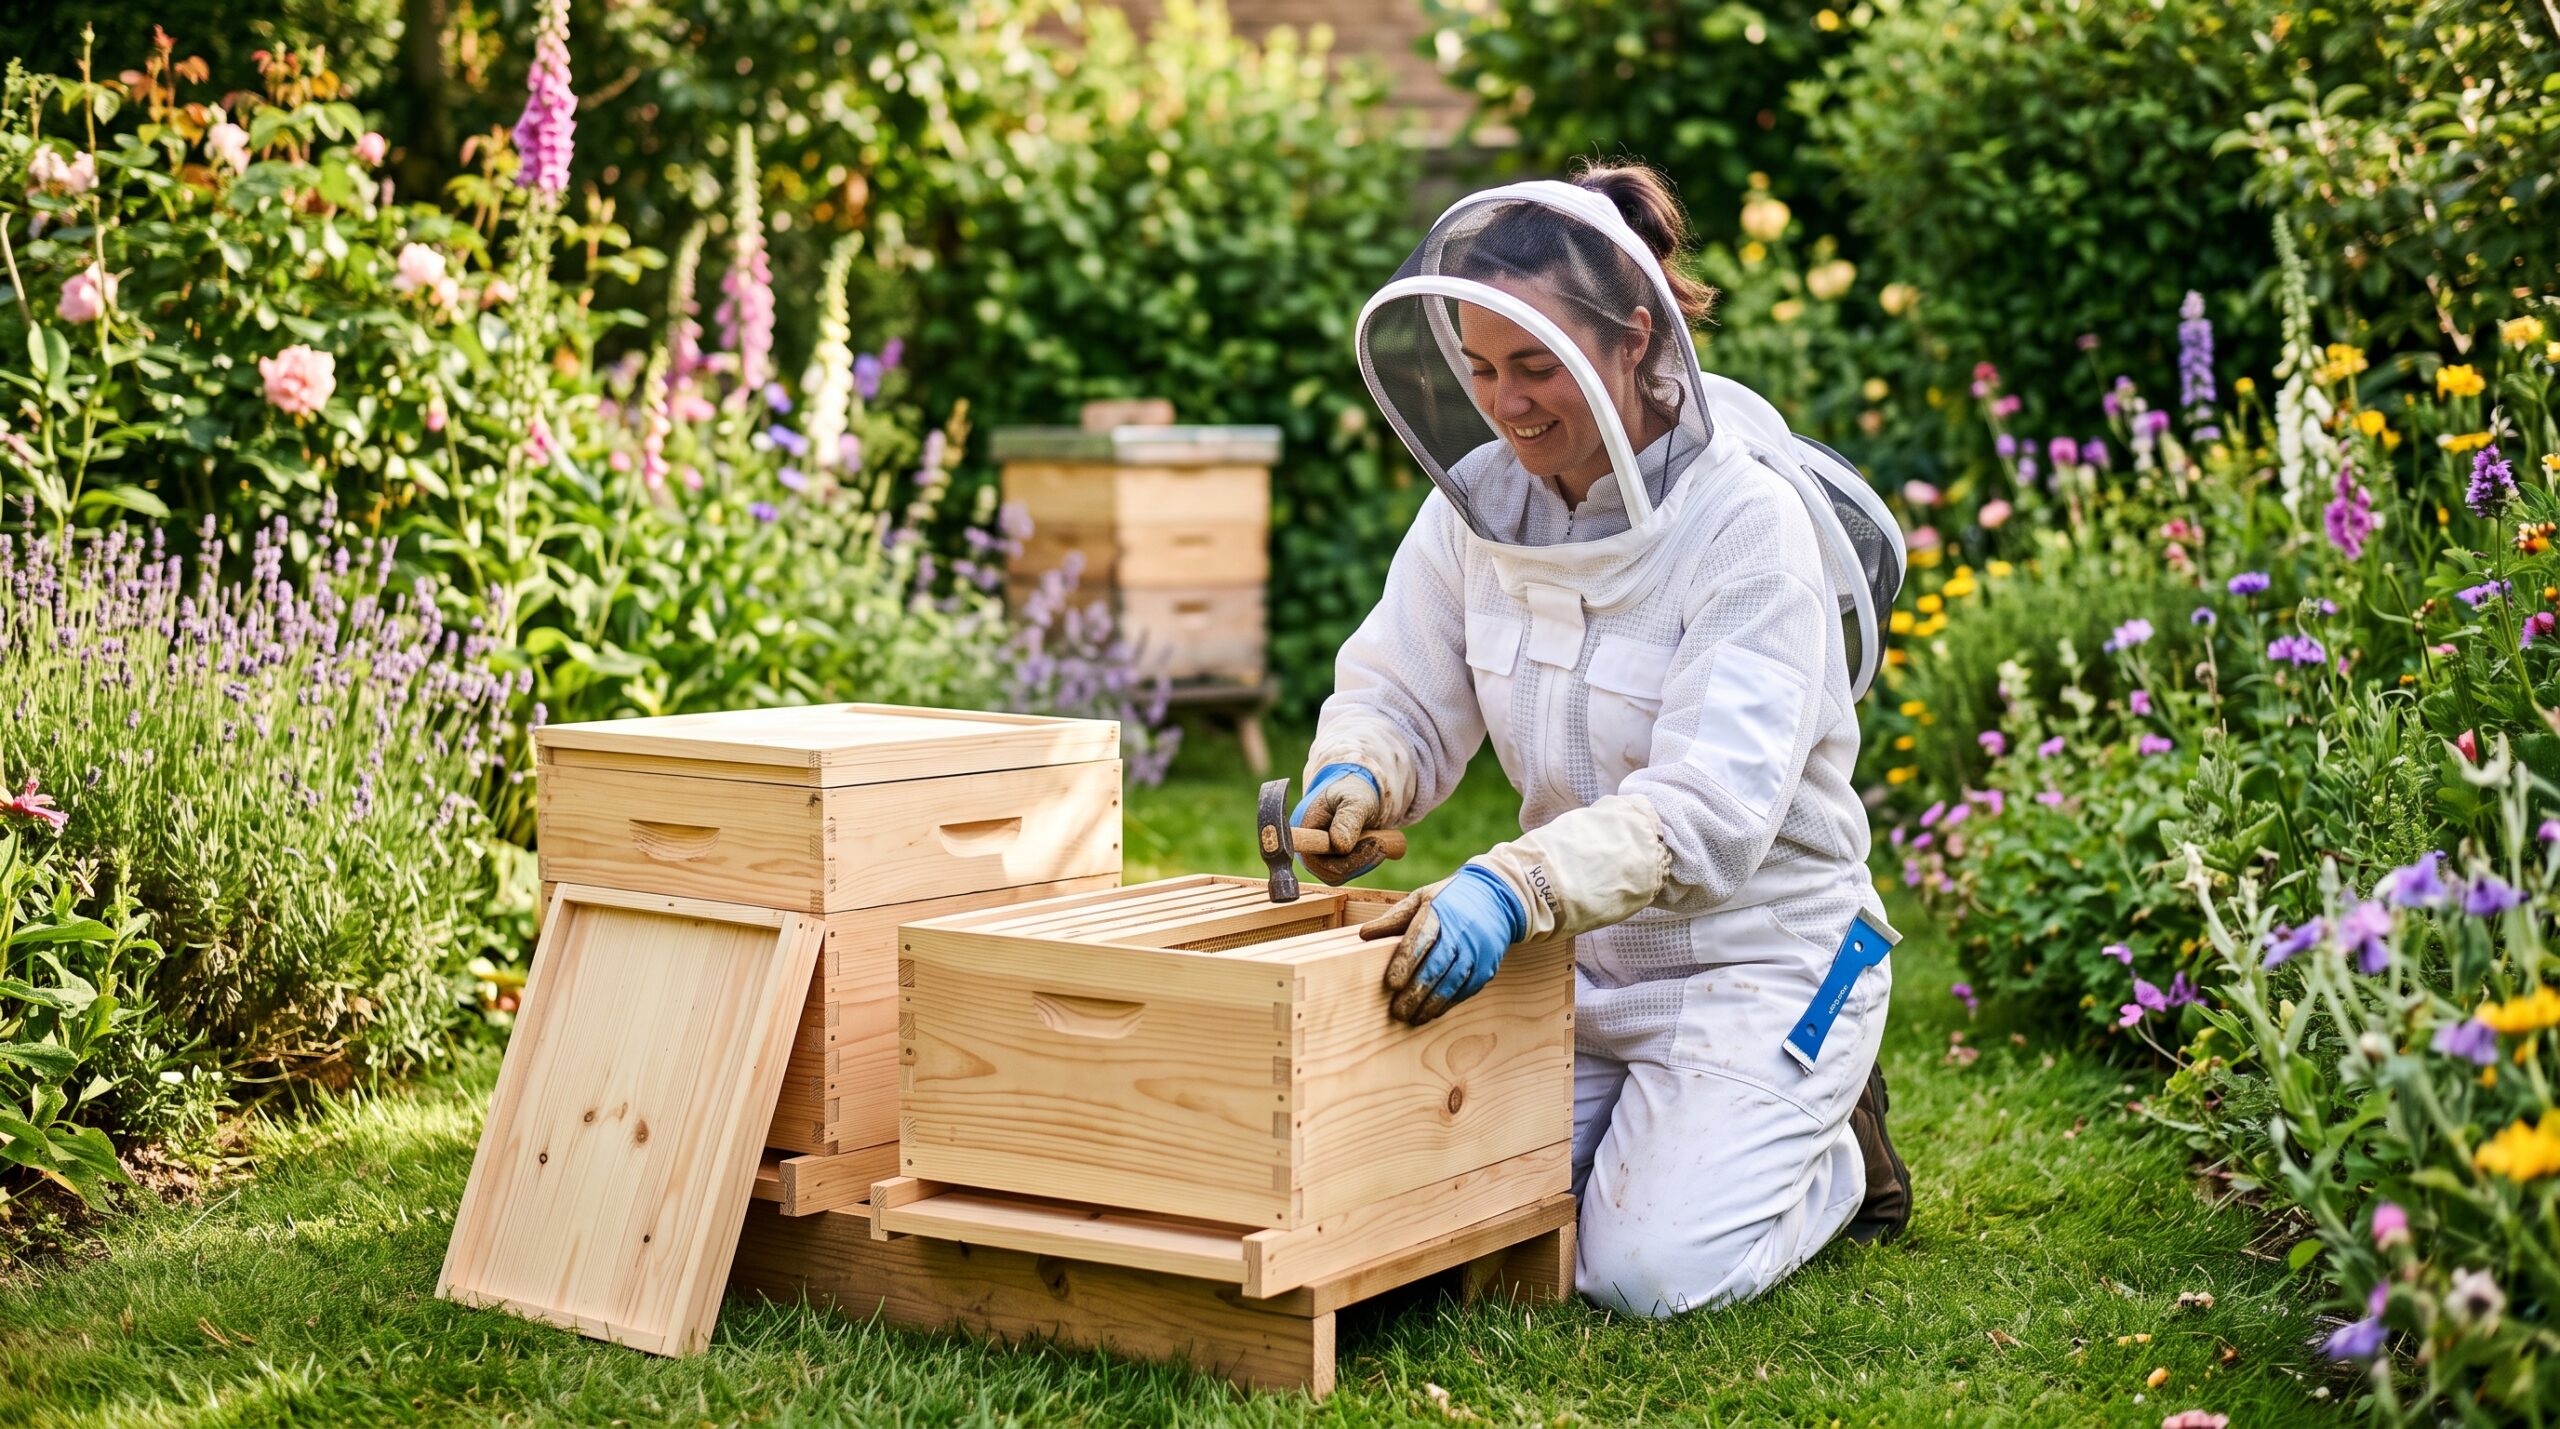
Assemble the hive body on a flat surface — a workbench, a driveway, a picnic table. Paint or seal the exterior wood before assembly if you haven’t already. I use exterior latex; some beekeepers swear by tung oil. Either works. Raw wood rots within three or four seasons in wet climates.
Nail the corners of the hive body properly. These boxes will get heavy — a full deep box of honey can weigh seventy pounds. Weak joints fail at the worst moments. Use a rubber mallet to seat joints firmly, then drive nails or staples while the joint is tight.
Install the frames before placing the box on the stand. It’s much easier to do this on a table than crouching over a hive in the yard. If you’re using wired wax foundation, check that each sheet is centered and taut. Sagging foundation leads to crooked comb, and crooked comb makes inspections a nightmare.
Build a Solid Stand
A hive stand keeps your equipment off the ground, reduces moisture wicking up through the bottom board, and makes inspections easier on your back. In my apiary, I use concrete blocks with two-by-fours laid across them. You can buy commercial hive stands, build a simple one from treated lumber, or use a pair of cinder blocks. The key requirements:
- Stable and level side to side
- Slight forward tilt so rain drains out the entrance rather than pooling inside
- At least eight to twelve inches off the ground
Forward tilt of about five degrees is enough. Use a bubble level and shim with cedar shingles until you get it right. A hive that lists to one side will have bees drawing comb at an angle that makes frame removal difficult.
Installing a Package of Bees
If you’re starting with a package (three pounds of bees plus a caged queen), installation day requires a calm afternoon — not the hottest part of the day, not when a thunderstorm is approaching. Suit up fully. Even gentle packages can be defensive when they’re stressed from shipping.
Here’s the sequence I’ve used for years:
- Remove four or five frames from the center of the brood box to create space.
- Mist the package screen lightly with sugar syrup — fed bees are calmer bees.
- Give the package a sharp downward thump on the ground to knock the bees to the bottom.
- Remove the queen cage and check that she’s alive; set her aside safely.
- Shake the package briskly into the open hive. Most bees will fall in; don’t worry about the stragglers.
- Remove the cork plug from the candy end of the queen cage (not the cork on the other end), and hang the cage between two center frames, candy side up.
- Replace the frames gently, trying not to crush bees against the cage.
- Add your inner cover, outer cover, and set the entrance reducer to the smallest opening.
Resist the urge to open the hive for at least five days. The bees need time to release the queen and start working. Peeking too early disrupts the process.
First Feeding
A new package has no honey stores. They need syrup until they get comb drawn and a nectar flow starts. Mix one-to-one sugar and water (by weight) in a feeder. I prefer a top feeder — it holds more syrup and requires fewer refills than an entrance feeder. Avoid open feeding in the yard; it triggers robbing from other hives.
Continue feeding until the bees are ignoring the syrup — a sign that natural nectar is coming in — or until both sides of most frames have drawn comb.
Quick Reference: First-Week Checklist
- Hive stand level with slight forward tilt? ✓
- Entrance reducer on smallest setting? ✓
- Queen cage installed, candy end accessible? ✓
- Feeder filled with 1:1 syrup? ✓
- Hive closed and left alone for 5 days? ✓
On day five to seven, open the hive and check that the queen has been released from her cage. If she hasn’t, gently remove the remaining candy yourself. By day ten, look for eggs — tiny white grains standing upright in cells — which confirm the queen is laying normally. That’s your green light. Everything after that is hive management, and you’ll pick it up one inspection at a time. Try the full walkthrough on your next setup and see how much smoother it runs.