You’ve done the hard part — frames harvested, honey extracted. Now comes a step that looks simple but has more ways to go wrong than most beekeepers expect. Filtering and bottling honey isn’t just about getting it into jars. Done carelessly, it introduces air bubbles, wax particles, dead bees, or even off-flavors. Done right, you end up with clear, stable honey that presents beautifully and keeps without problems.
Here’s what I’ve learned about doing it right — and what to skip.
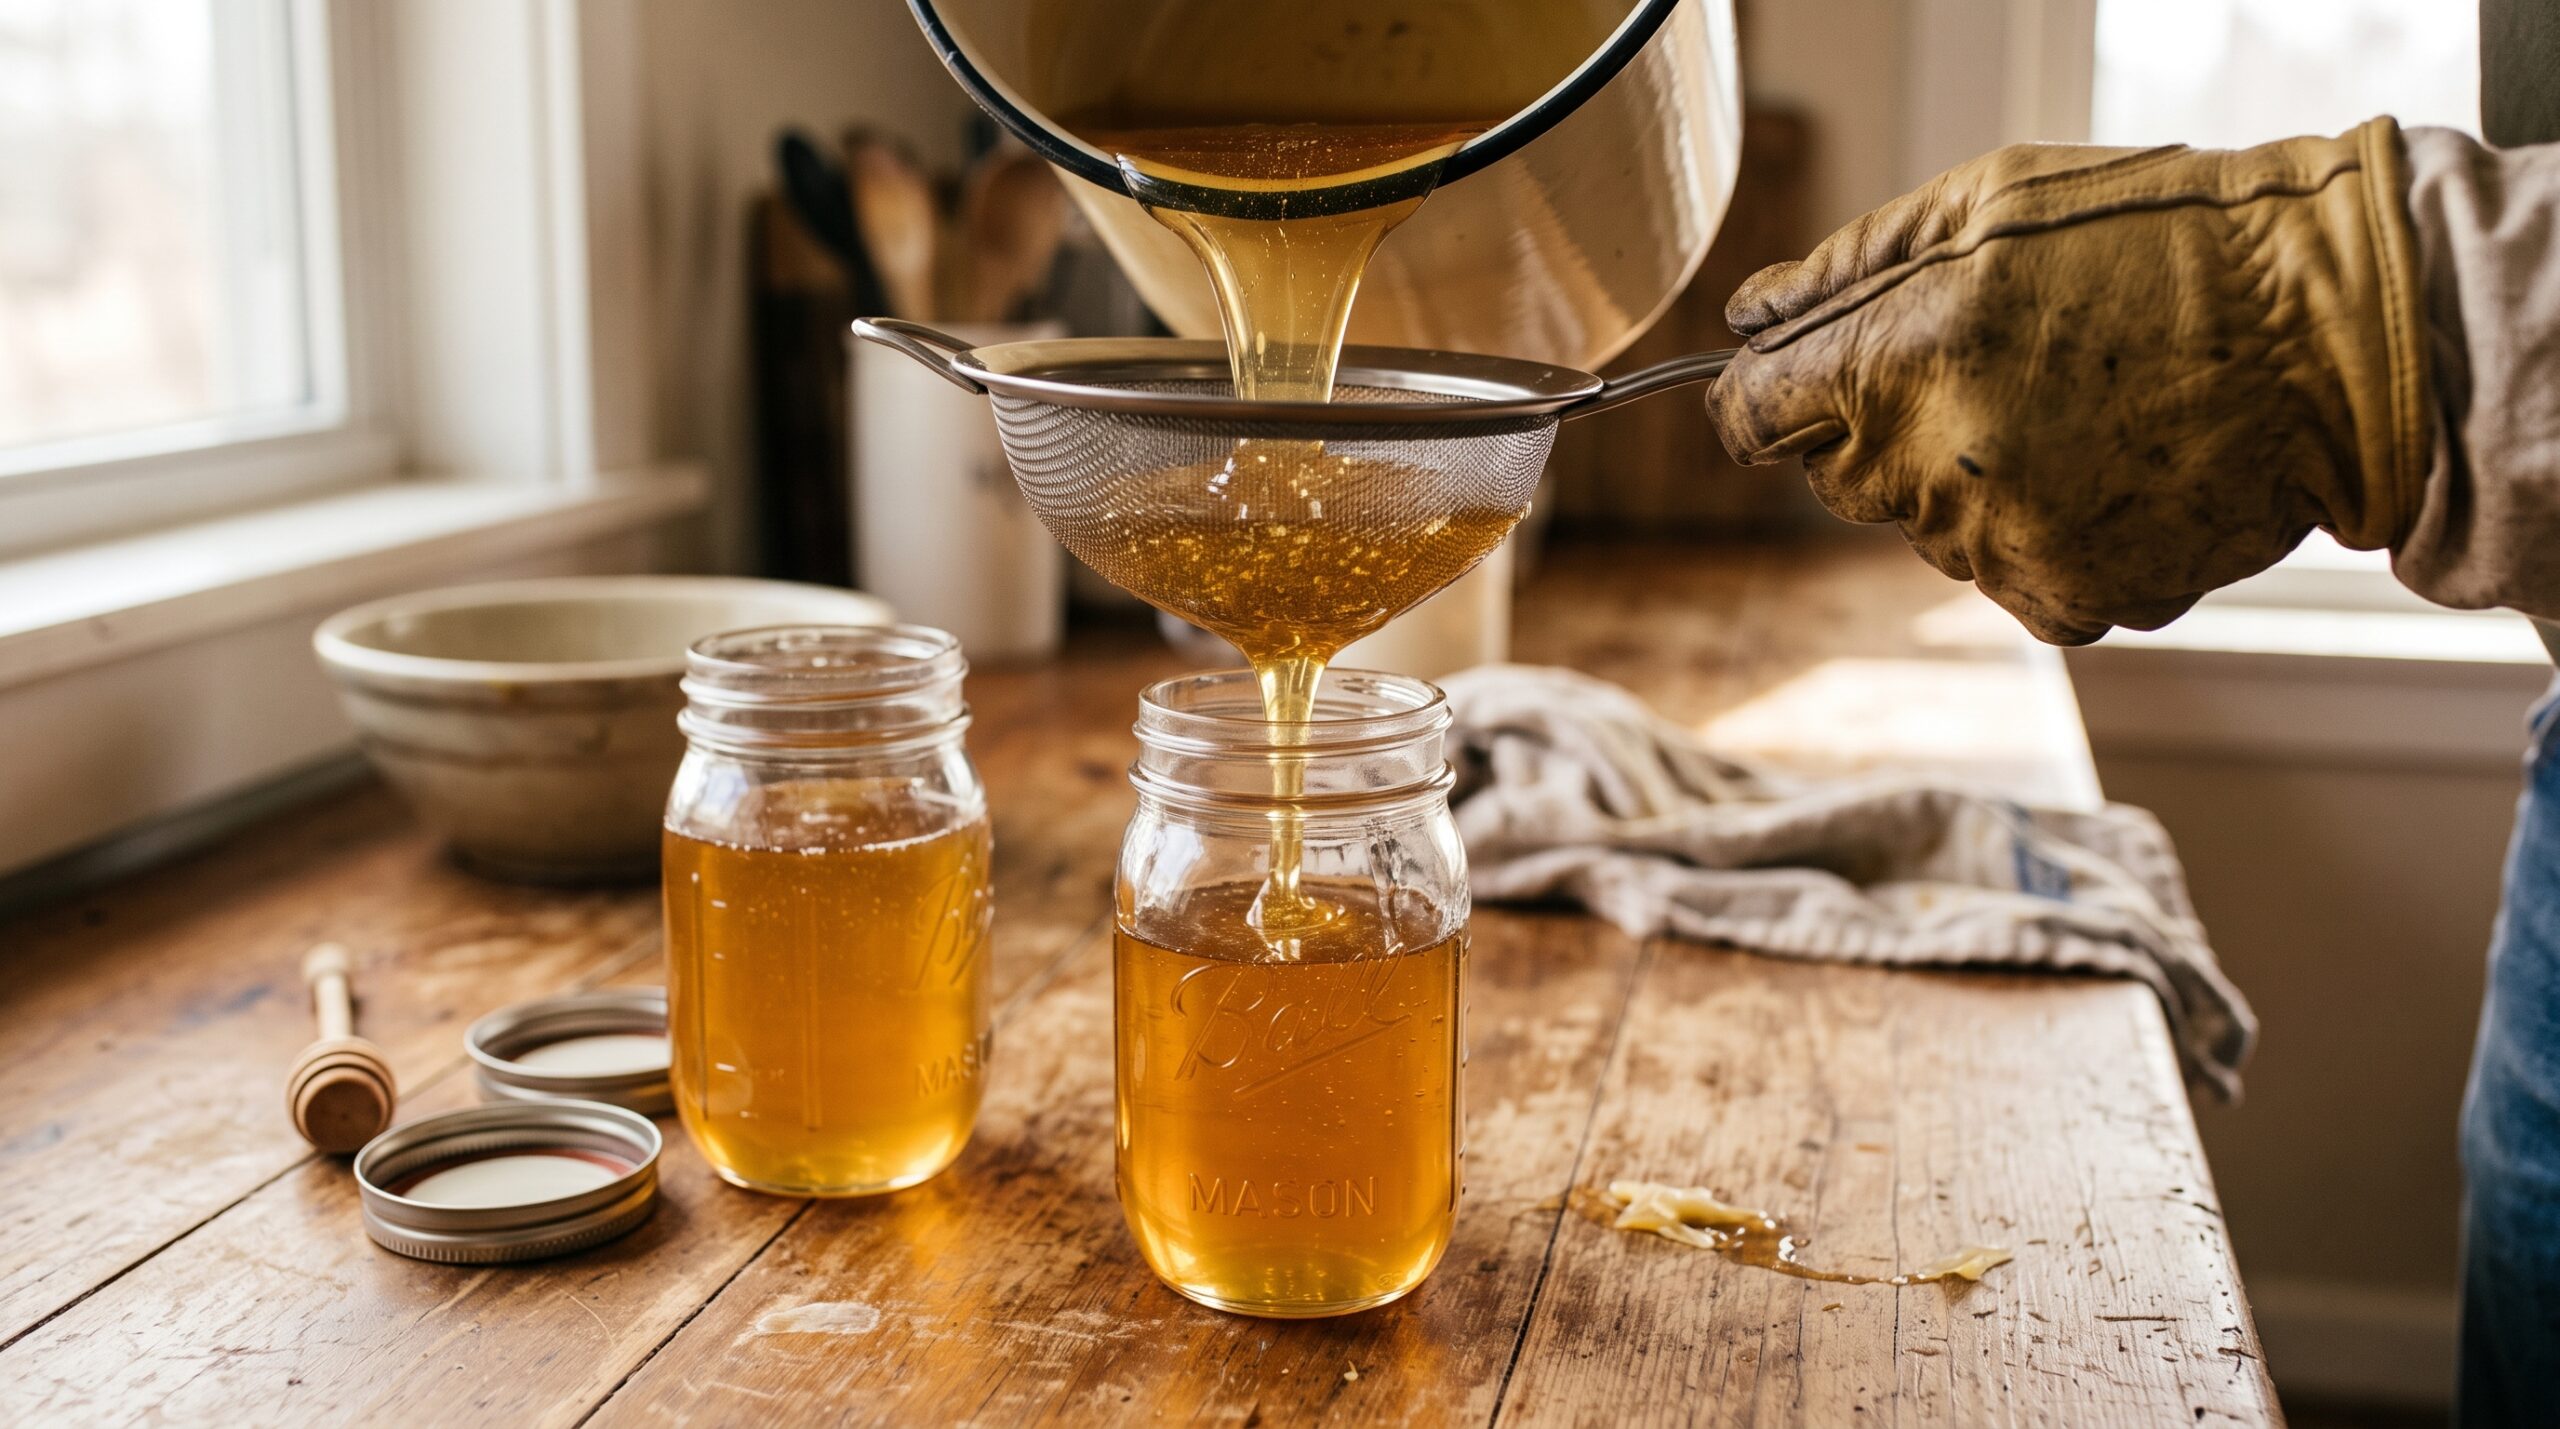
Why Filter at All?
Raw honey straight from extraction contains bits of wax, propolis, occasional bee parts, and pollen. Most of this settles out on its own over time. But if you’re bottling for sale or want a cleaner product, filtering removes the visible particulates before they reach the jar.
There’s a spectrum here, and it’s worth knowing where you want to land:
- No filtering: Strain through large-mesh (600 micron) to remove big wax chunks and obvious debris, then jar it. Maximum pollen retention. Cloudy appearance that many customers who know raw honey actually prefer.
- Coarse filtering (250–400 micron): Removes most wax but leaves pollen and fine particles. Still considered raw. This is what most small-operation beekeepers do.
- Fine filtering (<100 micron or through multiple layers of cheesecloth): Removes most pollen and produces a clearer result. Technically still unheated and raw.
- Ultra-filtration (commercial): Uses pressure and heat to push honey through very fine filters. Removes essentially all pollen. This is how most grocery-store honey is processed. Not something small beekeepers typically do or should want to do — it strips the character from the honey.
For my apiary, I use a 400-micron stainless mesh strainer followed by a single layer of fine cheesecloth. It takes the big debris out without over-filtering. I want customers to see a little natural cloudiness — it signals quality.
Temperature: The Variable Nobody Talks About Enough
Honey viscosity drops dramatically as temperature rises, which speeds filtering enormously. But heat is honey’s enemy above a certain threshold. Temperatures above 45°C (113°F) start degrading enzymes. Above 50°C (122°F), you’re actively damaging quality — reducing diastase activity, driving off volatile aromatics, and increasing HMF (hydroxymethylfurfural), a marker for heat damage that international export standards test for.
The practical sweet spot for filtering is a warming cabinet or room kept around 35°C (95°F) — close to hive temperature. At that temperature, honey flows easily through a strainer without being damaged. I built a simple warming cabinet from a spare cooler with a small incandescent bulb inside; it holds 35°C reliably enough for my purposes.
Alternatively, filter on a warm summer day in a warm room. Many beekeepers filter the same day as extraction when honey is still warm from the hive and processing. That works well. Just don’t use a microwave or direct heat on the honey itself.
The Settling Tank
After filtering, let honey settle in a clean food-grade bucket or settling tank for 24–48 hours before bottling. This step is underestimated. During settling:
- Air bubbles incorporated during extraction rise to the surface and dissipate.
- Fine wax particles that passed through your filter float upward and form a thin layer at the top.
- Foam accumulates on the surface and can be skimmed off before jarring.
Without this settling step, your bottled honey will have a layer of foam and small bubbles for the first week or two in the jar. It’s not harmful, but it looks unfinished and customers notice. In my apiary I never skip this step — even 24 hours makes a visible difference.
Bottling Equipment and Technique
A honey gate (a simple valve at the bottom of your settling tank) makes bottling far cleaner than trying to pour from the top. Open the gate over your jars, fill to just below the neck, close the gate, cap, invert the jar briefly to coat the lid with honey, then return upright. Inverting seals any air gap under the lid.
Some notes on jars and lids:
- Standard mason jars work fine but open-mouthed jars are harder to fill neatly. Hex jars with narrower mouths drip less during filling.
- Plastic lids seal better than the two-piece metal mason jar lids for honey — the flat center disc can sometimes allow air exchange in storage. If you’re selling, one-piece plastic caps designed for honey are worth the cost.
- Fill jars at room temperature when possible. Filling hot honey into cold jars causes condensation on the glass interior — not a problem for shelf life, but looks messy.
Labeling Requirements
If you’re selling at all, even a farmstand, your labels need to include weight (by ounce and gram in the US), your name and address, and the word “honey.” Many states require additional disclosures. I won’t cover all the regulatory details here — see my post on honey label legal requirements — but make sure your labels are accurate before you sell a single jar.
Common Bottling Mistakes
- Skipping the settle: Foam-topped honey jars are the most common complaint I hear from people who bottled straight from the extractor. Give it 48 hours minimum.
- Heating honey directly to speed filtering: Stovetop heat is too unpredictable. Use a warming environment, not direct flame.
- Using non-food-grade containers at any step: Any container that previously held cleaning products, chemicals, or strong foods (like pickles) can impart off-flavors or contaminants. Use only designated food-grade buckets.
- Overfilling jars: Leave at least a quarter inch of headspace. Honey expands slightly at warm temperatures, and a jam-packed jar can push the lid up or make a sticky mess when opened.
- Bottling crystallized honey without warming it first: Crystallized honey won’t flow through a gate valve and is impossible to bottle cleanly. Warm it gently to liquid first, let it settle again, then bottle.
The care you put into filtering and bottling directly affects how your honey is received — whether by customers at a market or your own family at the breakfast table. Slow down, let the honey settle, and fill those jars with some attention to detail. It’s the last step, and it shows.