Every August, before the goldenrod bloom starts and the fall build-up kicks in, I do a full systematic health inspection on every hive in the apiary. I call it the annual deep dive — it’s different from my regular monthly checks in scope and intent. Where monthly inspections are quick reads of population, laying pattern, and varroa counts, the August inspection is a thorough evaluation of colony health, stored food quality, structural condition, and winter readiness. It takes about 45 minutes per hive done properly, and it gives me a complete picture of where each colony stands going into the most critical season transition of the year.
Why August specifically? The winter bees are about to be raised. Any problems in the hive right now — high mite loads, disease, poor queens, inadequate protein stores — will directly compromise the bees that need to survive until April. Catching and addressing those problems in August gives you 6–8 weeks before colony dynamics shift into winter preparation mode. That’s your window.
Equipment and Preparation
Before opening hives, set up properly:
- Clean, sharp hive tool — have a second one in soapy water in case you encounter disease signs and need to switch tools between hives
- Alcohol wash jar with 70% isopropyl and a mesh-lidded half-pint jar for mite counts
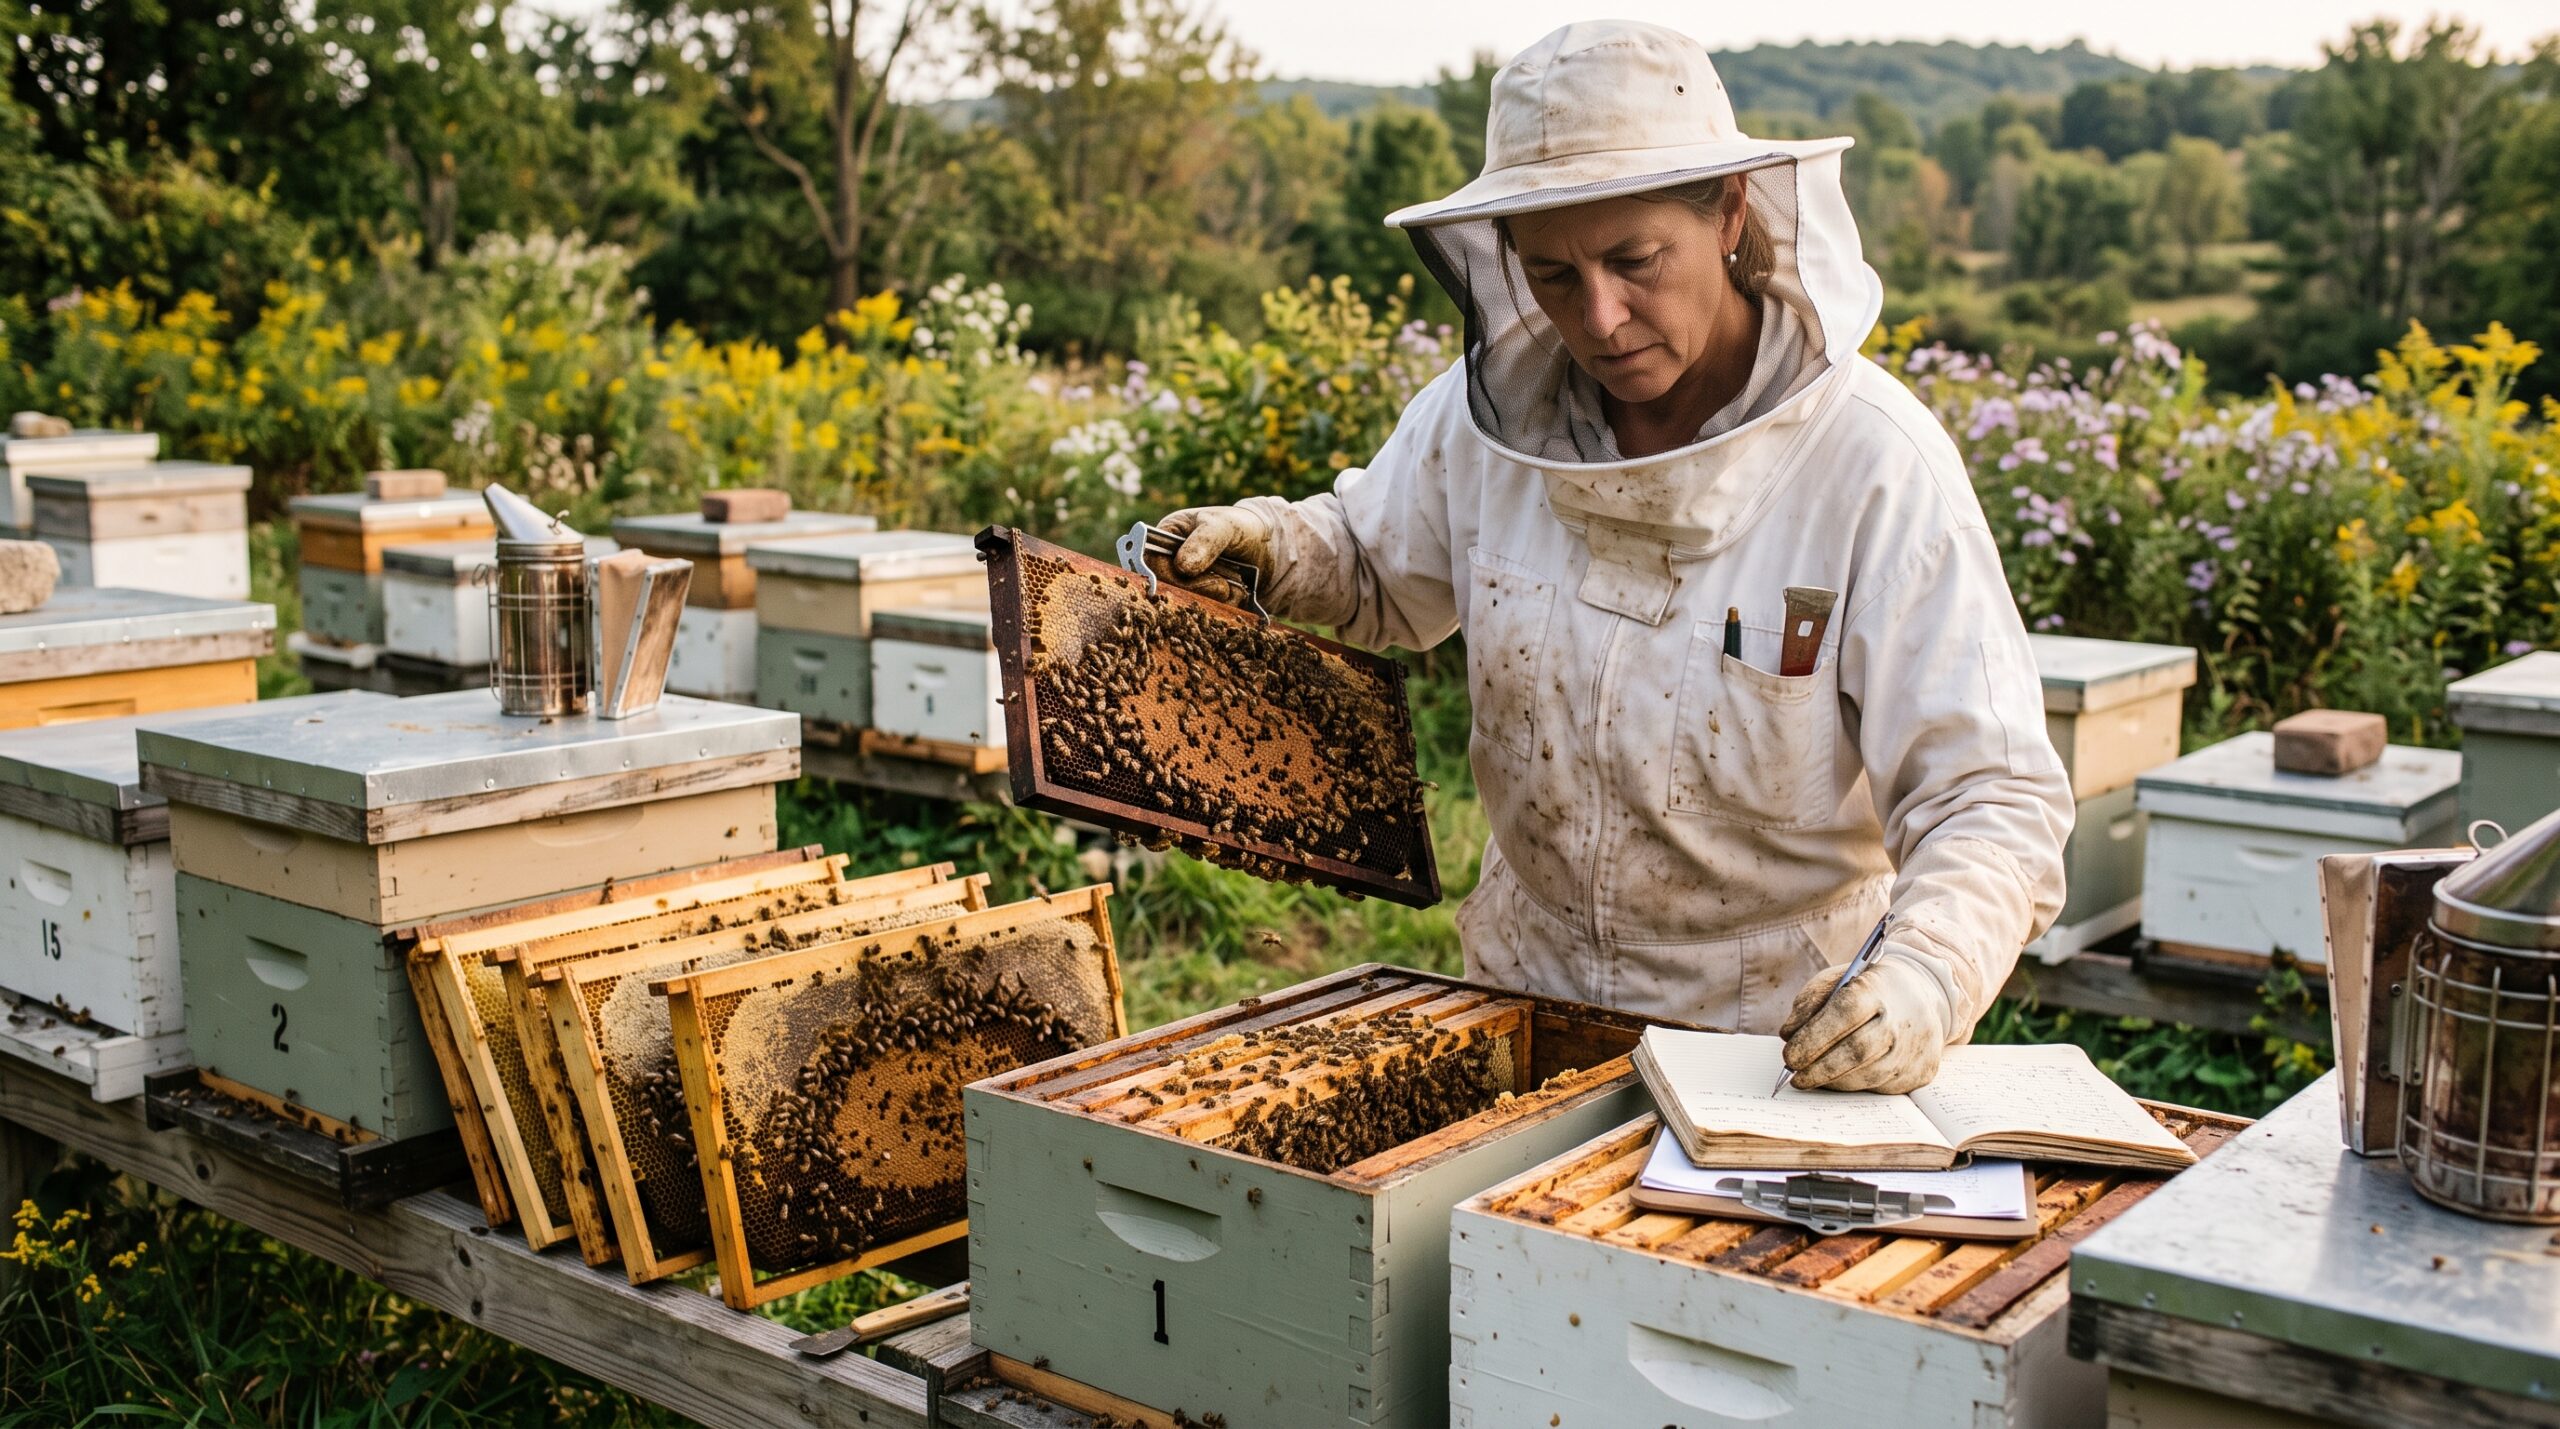
- Notepad or phone app for recording findings (I use a simple app with a hive-by-hive template)
- Extra queen-excluder and frames for any emergency rearrangements
- Smoker loaded well — you’ll be in each hive longer than usual
Work early morning or late afternoon to reduce heat stress on brood and minimize defensive bees.
The Inspection Sequence
Step 1 — Entrance assessment before opening: Spend a full minute watching the entrance. Traffic volume, pollen loads coming in (protein source present?), any crawling or deformed bees on the landing board (varroa/DWV sign), signs of robbing. This takes 60 seconds and gives context for what you’ll find inside.
Step 2 — Equipment exterior: Check hive body condition — any rot, warped boards, gaps bees can’t propolize? Note bottom board for unusual debris: chalk mummies (chalkbrood), wax moth frass, dead larvae, abnormal quantities of dead bees.
Step 3 — Super removal and assessment: If supers are on, pull them and note whether they’re full, partially filled, or empty. Are frames properly capped? Any signs of fermentation (bubbling, off smell)? This is also when you decide whether to harvest now or leave for fall.
Step 4 — Upper hive body: Look for the overall distribution of brood, honey, and pollen. Note any abnormal cappings, unusual smells, or patterns that suggest disease. Look at 3–4 brood frames using your matchstick test on any suspect cells.
Step 5 — Find and assess the queen: Don’t rush this. Look for her systematically on each frame. Note: compact, solid brood pattern or scattered? Good laying rate for the season? Any supersedure cells present? A queen that’s laying poorly in August will not fix herself for winter — this is the time to decide if she needs to be replaced.
Step 6 — Alcohol wash mite count: This is non-negotiable. Collect 300 bees from a brood frame (not the queen — watch where you shake), wash in alcohol, and count mites. Record the exact count and percentage. If above 1%, treat immediately.
Step 7 — Food stores assessment: Count frames of capped honey. In most temperate US regions, a colony going into winter needs 60–80 lbs of honey — roughly 6–8 full deep frames or equivalent. If stores are light, plan to feed 2:1 syrup through September. Note pollen storage too: protein stores are critical for raising winter bees.
Step 8 — Lower hive body: Pull and inspect the lower box. Are lower frames drawing down or remaining unused? Old brood comb that needs replacing? Any mice or pest evidence? This is a good time to remove and retire old black comb if the colony can afford the disruption.
Step 9 — Equipment condition: Look at all wooden ware while you have it apart. Any bottom boards rotting through? Inner covers warped? Frames with broken top bars? Note what needs replacing before spring.
What to Record
After each inspection, record:
- Mite count (% wash)
- Queen status (seen/not seen/supersedure cells/new/quality: good/poor)
- Brood pattern (solid/scattered/disease signs)
- Population strength (1–5 scale, or number of frames covered)
- Honey stores (frames of capped honey, rough estimate of lbs)
- Pollen stores (frames or equivalent)
- Treatment needed (yes/no/type)
- Action items (requeen, feed, add box, remove super, repair equipment)
Common Findings and Responses
- Mite count >1%: Treat immediately. Apivar, MAQS, or OA depending on temperature and brood presence. This is urgent — every week of delay is more infected winter bees.
- Spotty brood or disease signs: Perform AFB ropiness test on every suspect cell. If confirmed or strongly suspected, stop work on that hive and call your state apiarist.
- Poor queen: If laying pattern is scattered or population is shrinking despite adequate food, requeen now. A new mated queen introduced in August has time to establish a good winter population.
- Inadequate stores: Begin 2:1 syrup feeding in the last week of August. Target 8+ full frames of capped honey by late September. Don’t wait — bees need time to convert and cap syrup properly.
- Excellent colony: Note it. Strong, well-populated colonies with good queens and low mite counts are candidates for spring splits. Plan this out now.
The annual inspection isn’t glamorous — it’s systematic and time-consuming. But the colonies I’ve invested 45 minutes in during August consistently outperform the ones I rushed through. An hour in August is worth three hours of emergency intervention in November. Do it thoroughly, record everything, and follow through on every action item before the goldenrod fades. That’s how healthy hives become healthy winter clusters.