Your first hive inspection is one of those things that sounds intimidating until you’ve done it once, and then you wonder what you were anxious about. The bees aren’t trying to attack you. The queen isn’t hiding to make you feel foolish. The hive is just doing its thing, and your job is to look carefully, move slowly, and leave things mostly as you found them.
Here’s what to look for, what to ignore, and how to get through your first inspection without making a mess of it.
Before You Open the Hive
Choose the right conditions. Inspect on a warm, sunny day when temperatures are above 60°F (65°F or warmer is better). Cold days keep bees clustered and defensive. Rainy days are worse — bees stuck inside with no foraging to do are more likely to be irritable. The ideal window is late morning to early afternoon when large numbers of foragers are out and the hive population is at its lowest.
Light your smoker and have it drawing well before you approach. A few puffs at the entrance, wait fifteen to thirty seconds, then open the hive. Smoke doesn’t sedate bees — it masks the alarm pheromone they release when disturbed. A little smoke early on prevents a defensive cascade later.
Suit up completely. No exceptions for your first inspection. You’ll move unpredictably, and a full suit forgives those movements. Once you know how this specific colony behaves, you can calibrate your gear accordingly.
What to Look For
Your first inspection has two primary goals: confirm the queen is present and laying, and confirm the colony is building normally. You don’t need to spot the queen herself — though it’s exciting when you do. Evidence of her presence is sufficient.
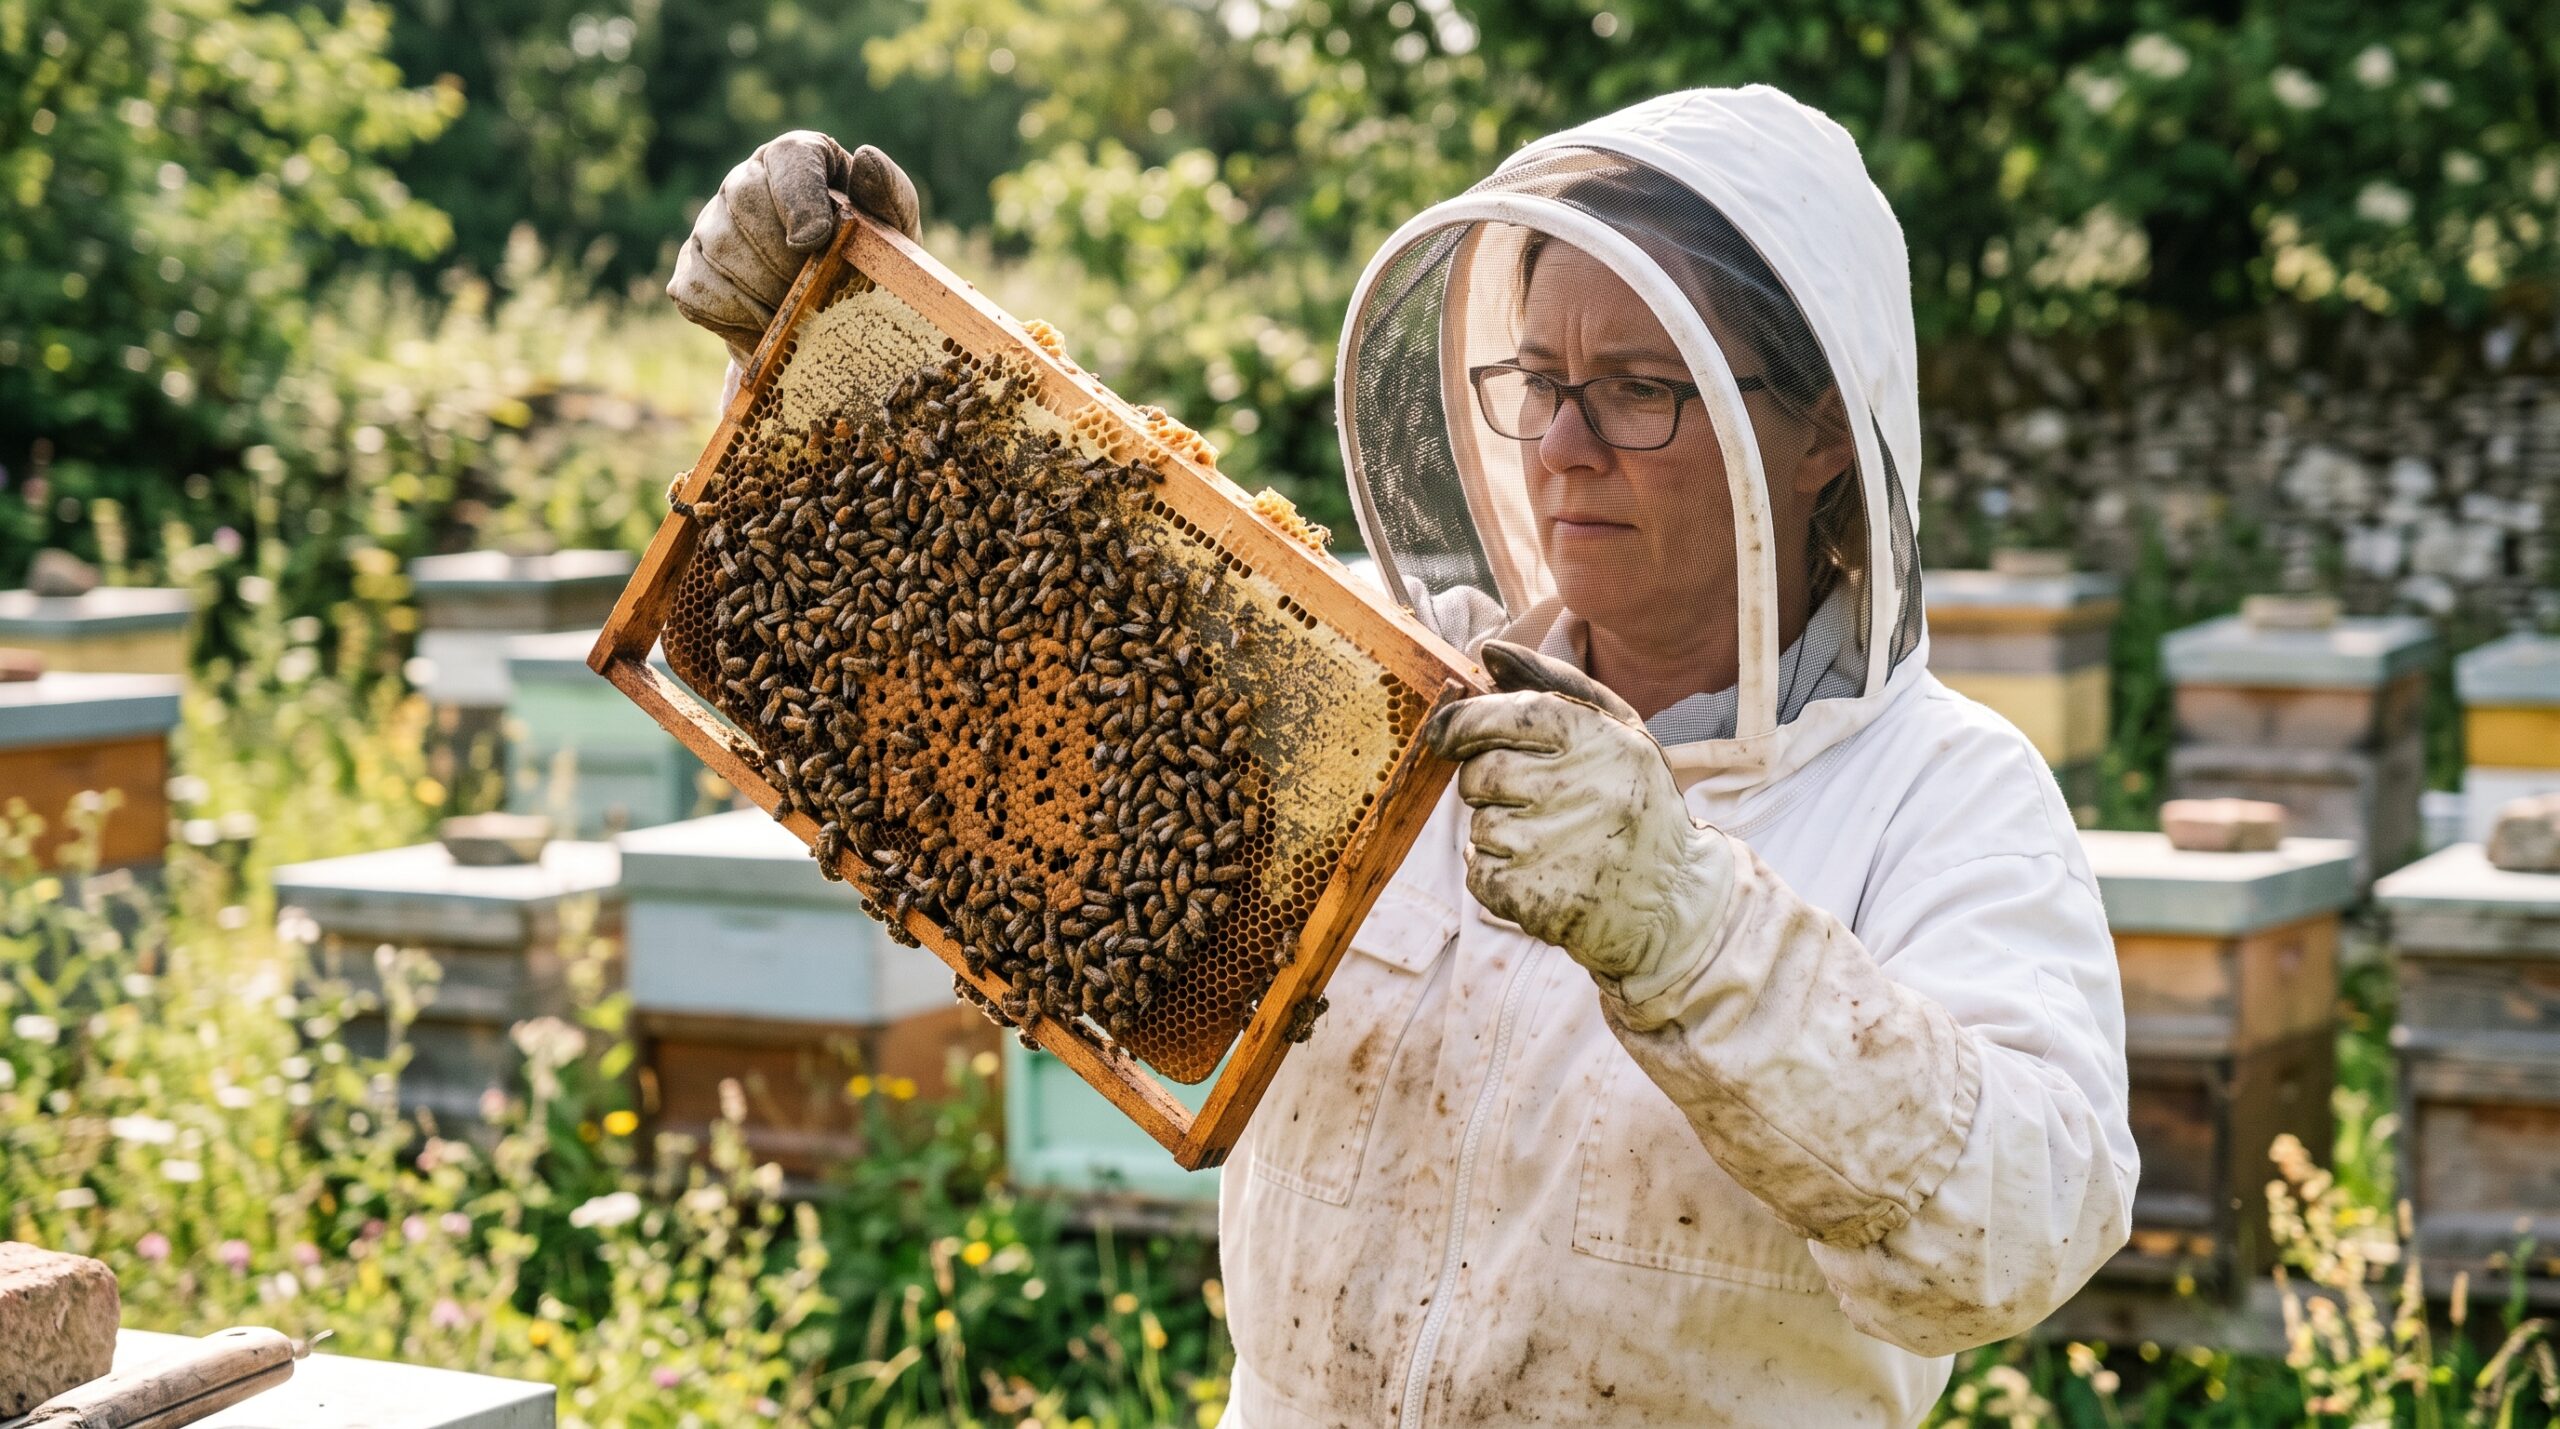
Eggs. Look for tiny white grains standing upright in the bottom of cells. They look like miniature white grains of rice. Fresh eggs are a maximum of three days old, which means the queen was actively laying within the last three days. Hold the frame up so light enters the cell from the side — this makes eggs visible against the cell walls. Eggs are the most reliable sign of a healthy queen.
Brood pattern. Capped brood should fill most of the center cells in a solid, even pattern — like a filled-in oval with few missed cells. A scattered, shotgun-like pattern with many empty cells among capped brood can indicate disease or a failing queen. In your first few weeks, a somewhat spotty pattern can be normal as the colony builds up; you’re looking for gross irregularity, not perfection.
Food stores. Outer frames should show honey and pollen in the upper corners, even in a new colony. If you’re not seeing any stored food and you’re also not feeding, that’s a problem worth addressing.
General behavior. Are bees moving purposefully and calmly on the frames, or are they running in chaotic circles? Some agitation is normal when you open the hive, but constant running and a high-pitched “roaring” sound can mean the queen is absent or dead. You’ll learn to feel the difference over time.
What to Ignore
Your first inspection, ignore:
- Drones. Large, blunt-ended bees with huge eyes. They don’t sting and their presence is normal in spring and summer. New beekeepers sometimes alarm when they see them; relax.
- Bees following you after you close up. Guard bees and curious foragers may follow you twenty or thirty feet from the hive. Walk away calmly and they’ll turn around. Running makes it worse.
- A few dead bees at the entrance. Normal daily mortality. Only worry if there are many dead bees — hundreds or more — with no clear cause.
- Bees fanning at the entrance. Normal ventilation behavior. Not alarm fanning.
Moving Through the Frames
Pull the outer frame first — it’s usually just honey, easier to set aside without disrupting much. Work inward. Use the hive tool to break the propolis seal between frames before lifting; yanking frames loose disturbs bees and risks rolling the queen.
Hold frames vertically at all times. Tilting a frame horizontally can snap soft comb, especially in warm weather. When you set a frame aside against the hive or in a frame holder, keep it vertical.
Move slowly. Bees respond to vibration and sudden movements. Fast, jerky pulls get stings. Deliberate, smooth movements do not. If bees start clustering on your gloves, set the frame down gently, give a small puff of smoke, and wait ten seconds before continuing.
Common First-Inspection Mistakes
- Rushing through because you’re nervous — slow down; the inspection should take fifteen to twenty minutes
- Forgetting which frame you pulled first and replacing them in the wrong order — mark or count as you go
- Dropping a frame or rolling it against the box — the resulting crush alarm can escalate quickly
- Inspecting in the wrong weather (cold, rainy, windy) and declaring the colony defensive when the real issue is conditions
After the Inspection
Replace frames in the same order and spacing you found them. Push them together gently — two fingers of space between frames is too much; bee space is about three-eighths of an inch. Replace the inner cover and outer cover. Note what you saw in a logbook: date, weather, queen evidence, brood pattern, food stores, any concerns. That record becomes invaluable by inspection three or four.
Give it a try on your next calm afternoon. Once is all it takes to realize this is manageable — and actually fascinating.