Walk into any beekeeping supply catalog and you’ll find hundreds of gadgets claiming to be essential for new beekeepers. Most of them aren’t. In fifteen years of running hives, I’ve watched beginners spend a thousand dollars on gear they never use — and also watched them short themselves on the one or two things that actually matter. Let me save you both mistakes.
Here’s what you genuinely need, what can wait, and what you can probably skip forever.
The Non-Negotiables
These items are not optional. Do not install bees without them.
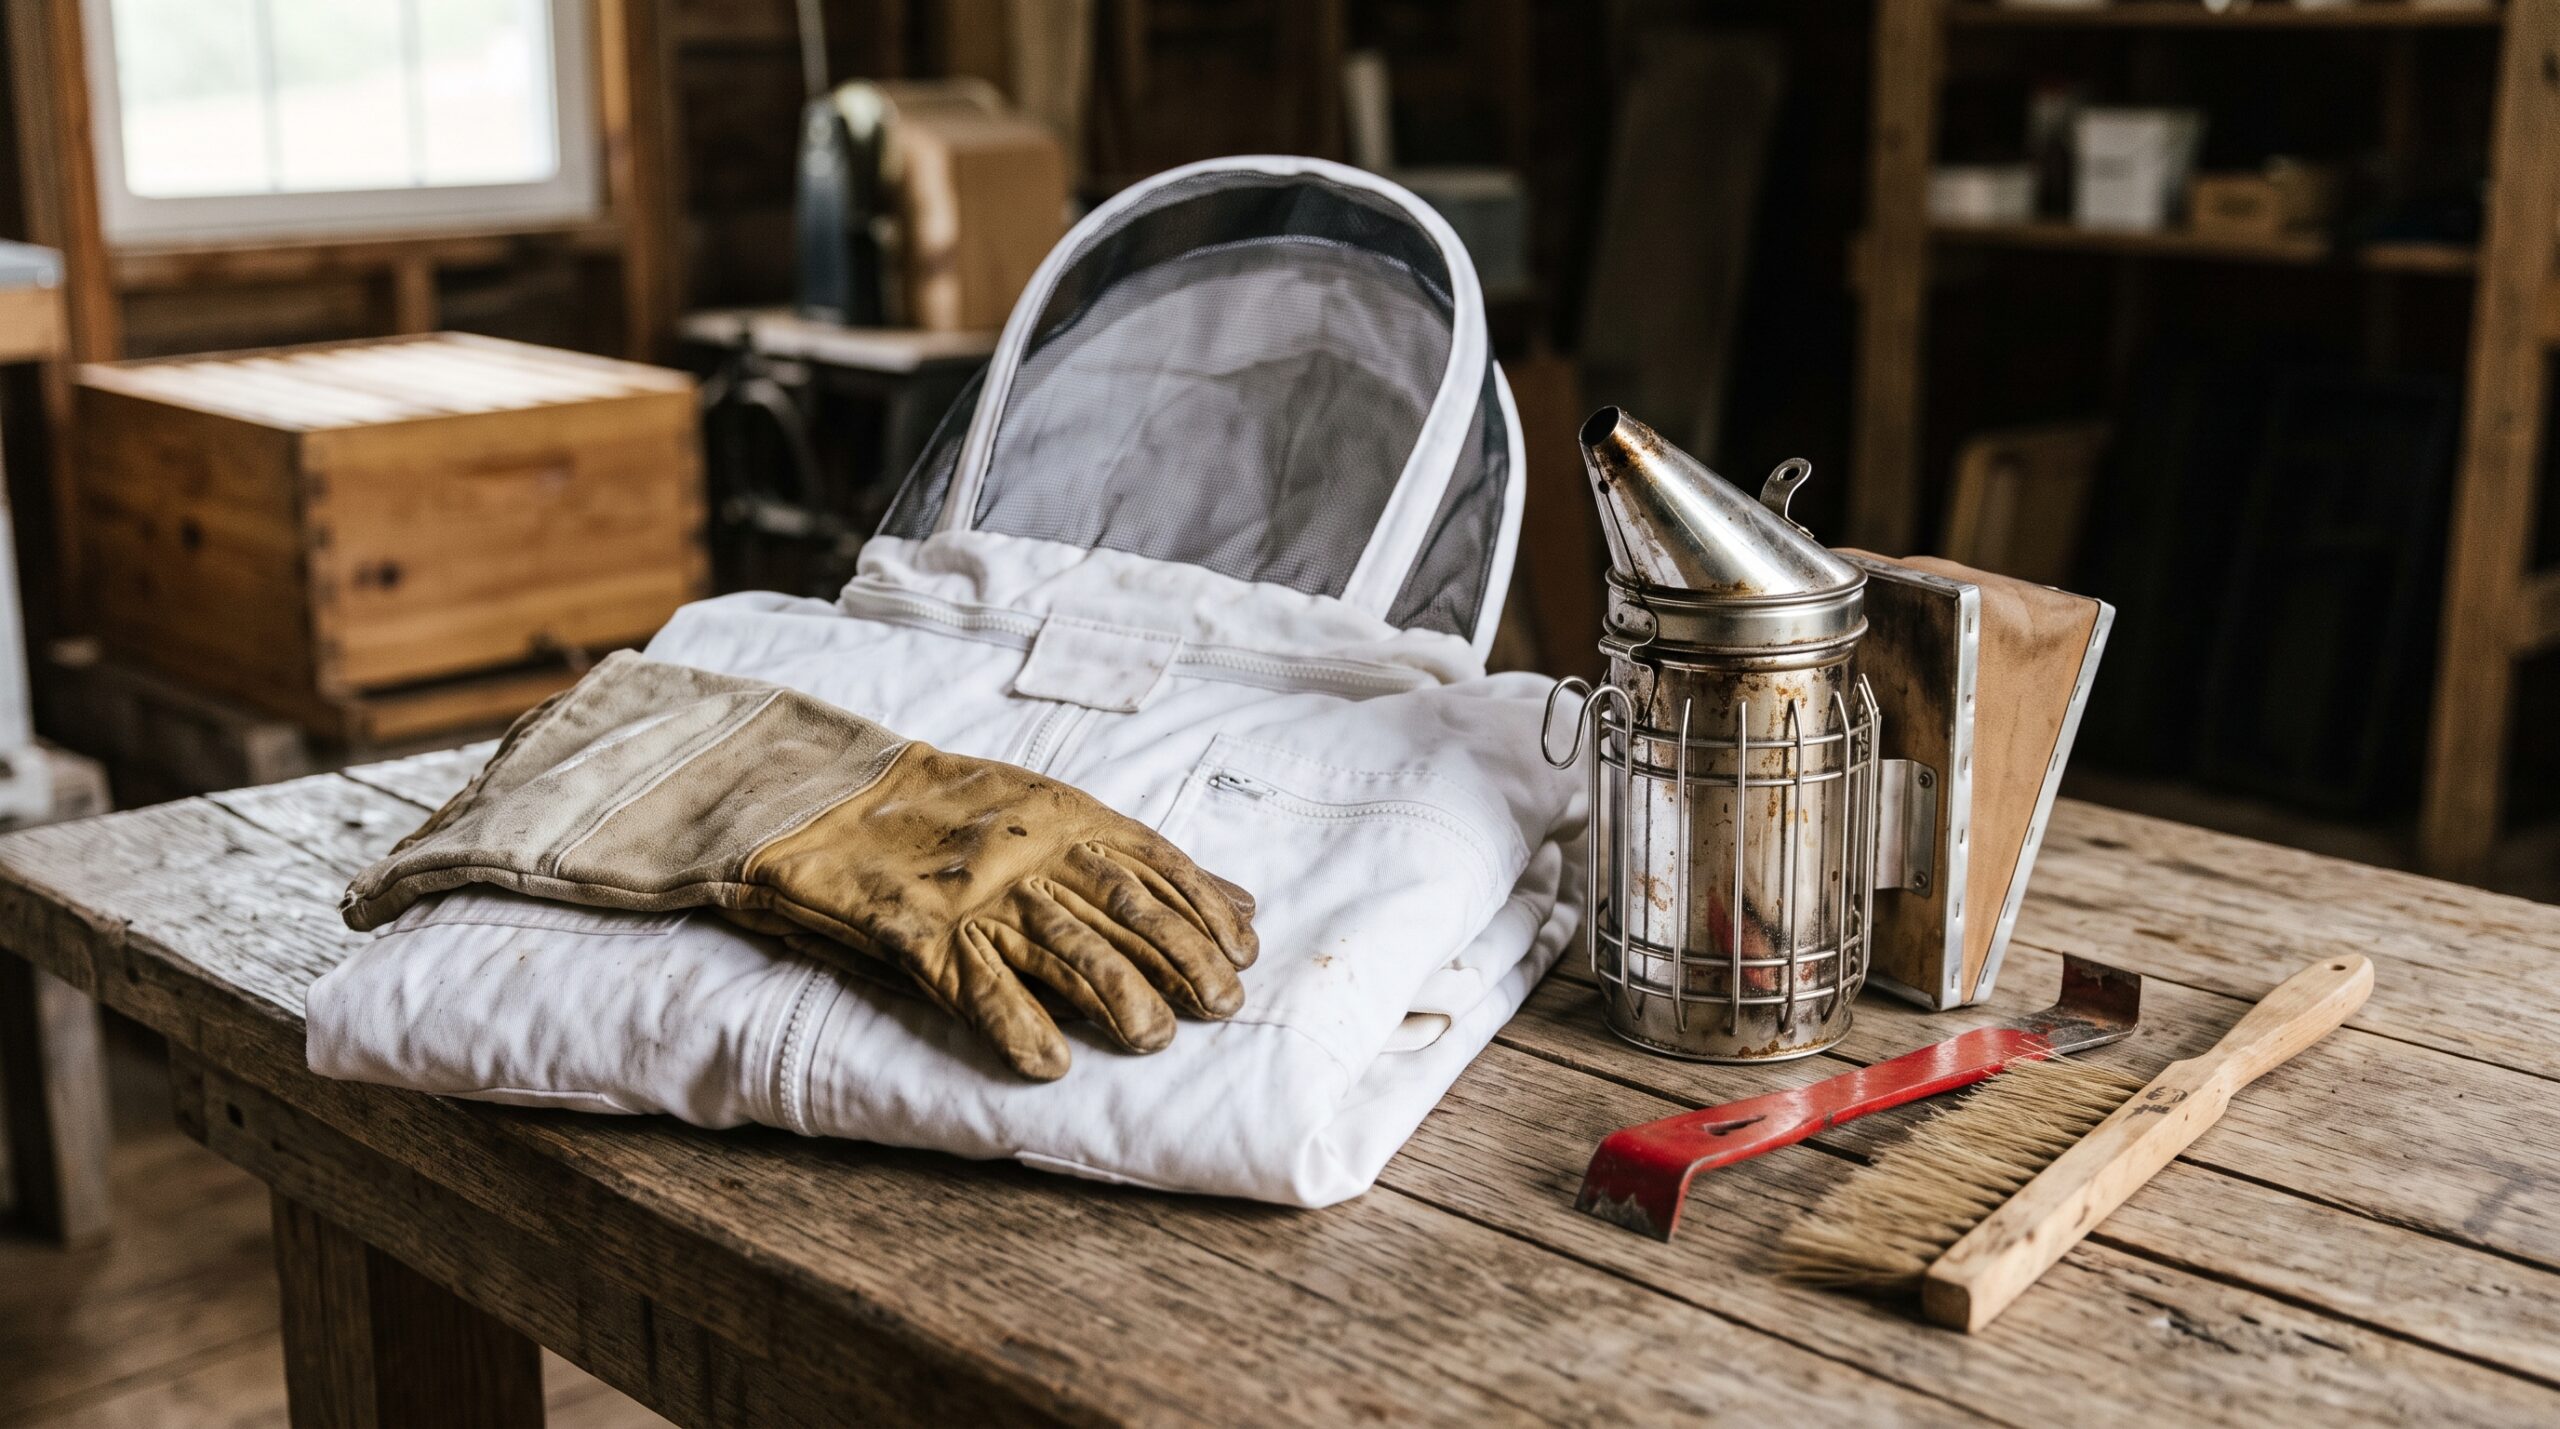
Full suit with attached veil. Buy a quality suit, not the cheapest one you find. Thin suits sting through; tight veils trap bees against your face. The best value I’ve found is a zip-on veil that attaches securely to a jacket — no gaps where bees can crawl in. A full suit is safer than jacket-only while you’re still learning to read bee behavior. You’ll move fast, react unpredictably, and a full suit forgives those mistakes.
Leather gloves with long cuffs. Beginners get stung on the hands most. Long cuffs that tuck into your jacket sleeves close the gap bees love to find. Nitrile gloves work once you’re experienced and moving slowly, but leather is the right choice for year one.
Smoker. A four-by-seven-inch smoker is the right size for most beekeepers. The Dadant or equivalent stainless-steel models last decades with basic care. Buy a good one now rather than a cheap one twice. Fuel: burlap, compressed wood pellets, pine needles, or dried sumac — whatever is available locally. Practice lighting it before you open a hive. A smoker that goes out mid-inspection is a liability.
Hive tool. The J-hook style is my preference — one end for prying frames apart, the hooked end for lifting frame ears. Standard flat hive tools also work fine. Buy two: you will lose one.
Things You Need Soon (But Not Day One)
Frame grip. A simple frame-lifting tool that lets you grab a frame without pinching bees between your fingers. Not critical, but you’ll want one by your first full inspection.
Entrance feeder or top feeder. New packages need supplemental feeding until a nectar flow starts. I prefer top feeders — they hold more, reduce robbing risk, and require fewer refills. But they cost more. An entrance feeder or jar feeder works fine to start.
Hive brush. Soft bristles for gently moving bees off frames. You can substitute a large feather if you have one, but a good brush is cheap and does the job better.
Queen catcher/cage. A simple plastic cage that lets you isolate the queen temporarily during inspections. Around two dollars and genuinely useful once you start spotting her.
What Can Wait Until Year Two
Honey extractor. You won’t harvest in your first year, and extractors are expensive. Borrow one from your local beekeeping club when the time comes — most clubs have extractors available for members. Then decide if you need your own.
Uncapping knife or fork. Same logic as the extractor. No harvest, no uncapping needed.
Pollen trap. An interesting tool, but a distraction while you’re still learning basic hive management. Add this later if you develop an interest in pollen products.
Queen rearing equipment. Cell bars, grafting tools, mating nucs — fascinating eventually, completely unnecessary now. Focus on keeping one colony alive through a full year before splitting and rearing queens.
What You Can Probably Skip Forever
Heated uncapping tanks. Only necessary if you’re running ten-plus hives and producing large quantities of comb honey. Most backyard beekeepers never need one.
Bee escapes. Designed to clear bees from supers before harvest. Works fine but adds extra trips to the apiary. Most small-scale beekeepers just brush bees off frames at harvest and find it faster.
Electric smokers. Battery-powered smokers exist and some people love them. I find them fussy and unnecessary. A good bellows smoker you know how to light is more reliable.
A Note on Suits: Don’t Cheap Out
This deserves its own mention. I’ve seen beginners quit beekeeping because they got stung through a thin veil on the third inspection and decided it wasn’t for them. A quality veil — round fencing style or square helmet — should have zero contact with your face. The mesh sits away from your skin so stingers can’t reach through. A veil that touches your nose or cheeks will get you stung. Pay the extra thirty or forty dollars and get a well-constructed one.
Quick Reference: Starter Budget Breakdown
- Full suit with attached veil: $80–$150
- Leather gloves with long cuffs: $20–$35
- Stainless smoker (4×7″): $35–$55
- J-hook hive tool (×2): $10–$18
- Hive brush: $5–$10
- Top feeder: $25–$40
- Frame grip: $8–$15
Total startup gear (not counting the hive itself): somewhere between $180 and $320, depending on brand choices. Anything beyond that list is optional in your first season. Get comfortable moving through a hive with these basics before you add complexity. A simple setup managed well beats an elaborate setup managed poorly every time.
Buying Used Equipment: Proceed With Caution
Used hive equipment is often available through beekeeping clubs or online marketplaces, sometimes at significant discounts. Woodenware — boxes, covers, bottom boards — is safe to buy used if it’s structurally sound and you can clean and paint it before use. What you should never buy used: frames with old comb. Old comb accumulates pesticide residues, pathogens, and wax moth damage over time. If you’re buying used hive boxes, strip the frames and replace them with new ones. The savings on the woodenware are real; the risk of introducing disease through contaminated comb is also real.